User Management
Key Concepts
Printago uses a role-based access control (RBAC) system combined with individual permissions to give you fine-grained control over what each team member can do inside your organization.
- Roles are pre-built permission bundles (e.g. Admin, Operator, Viewer) that grant a set of related permissions at once. When we update a role — such as adding permissions for a newly released feature — every user assigned to that role automatically gains access. This keeps your team in sync without requiring manual updates.
- Individual permissions let you grant or revoke a single capability for a specific user, independent of any role. This is useful when someone needs access to one extra feature (like exporting parts) without the broader privileges of a higher role.
- Store Owner is a special designation — there is exactly one Store Owner per organization. The Store Owner has unrestricted access to all features and is the only user who can grant Full Access API keys or assign any permission regardless of their own role. Ownership is set when the organization is created and must be explicitly transferred before the owner can be removed.
You can combine both approaches: assign a role for the baseline, then layer on individual permissions where needed. See the Roles & Permissions List page for a full breakdown of what each role and permission provides.
Roles are the recommended default — they stay current as Printago evolves and are easier to audit at a glance. Use individual permissions only when a user's needs don't line up with any existing role, or when you want to grant a single extra capability on top of a role.
To prevent privilege escalation, you can only grant permissions that you yourself hold. For example, a user with the Viewer role cannot invite someone and assign them the Admin role. Store Owners are the only exception — they can grant any permission to any user.
Inviting Users
Sending an Invitation
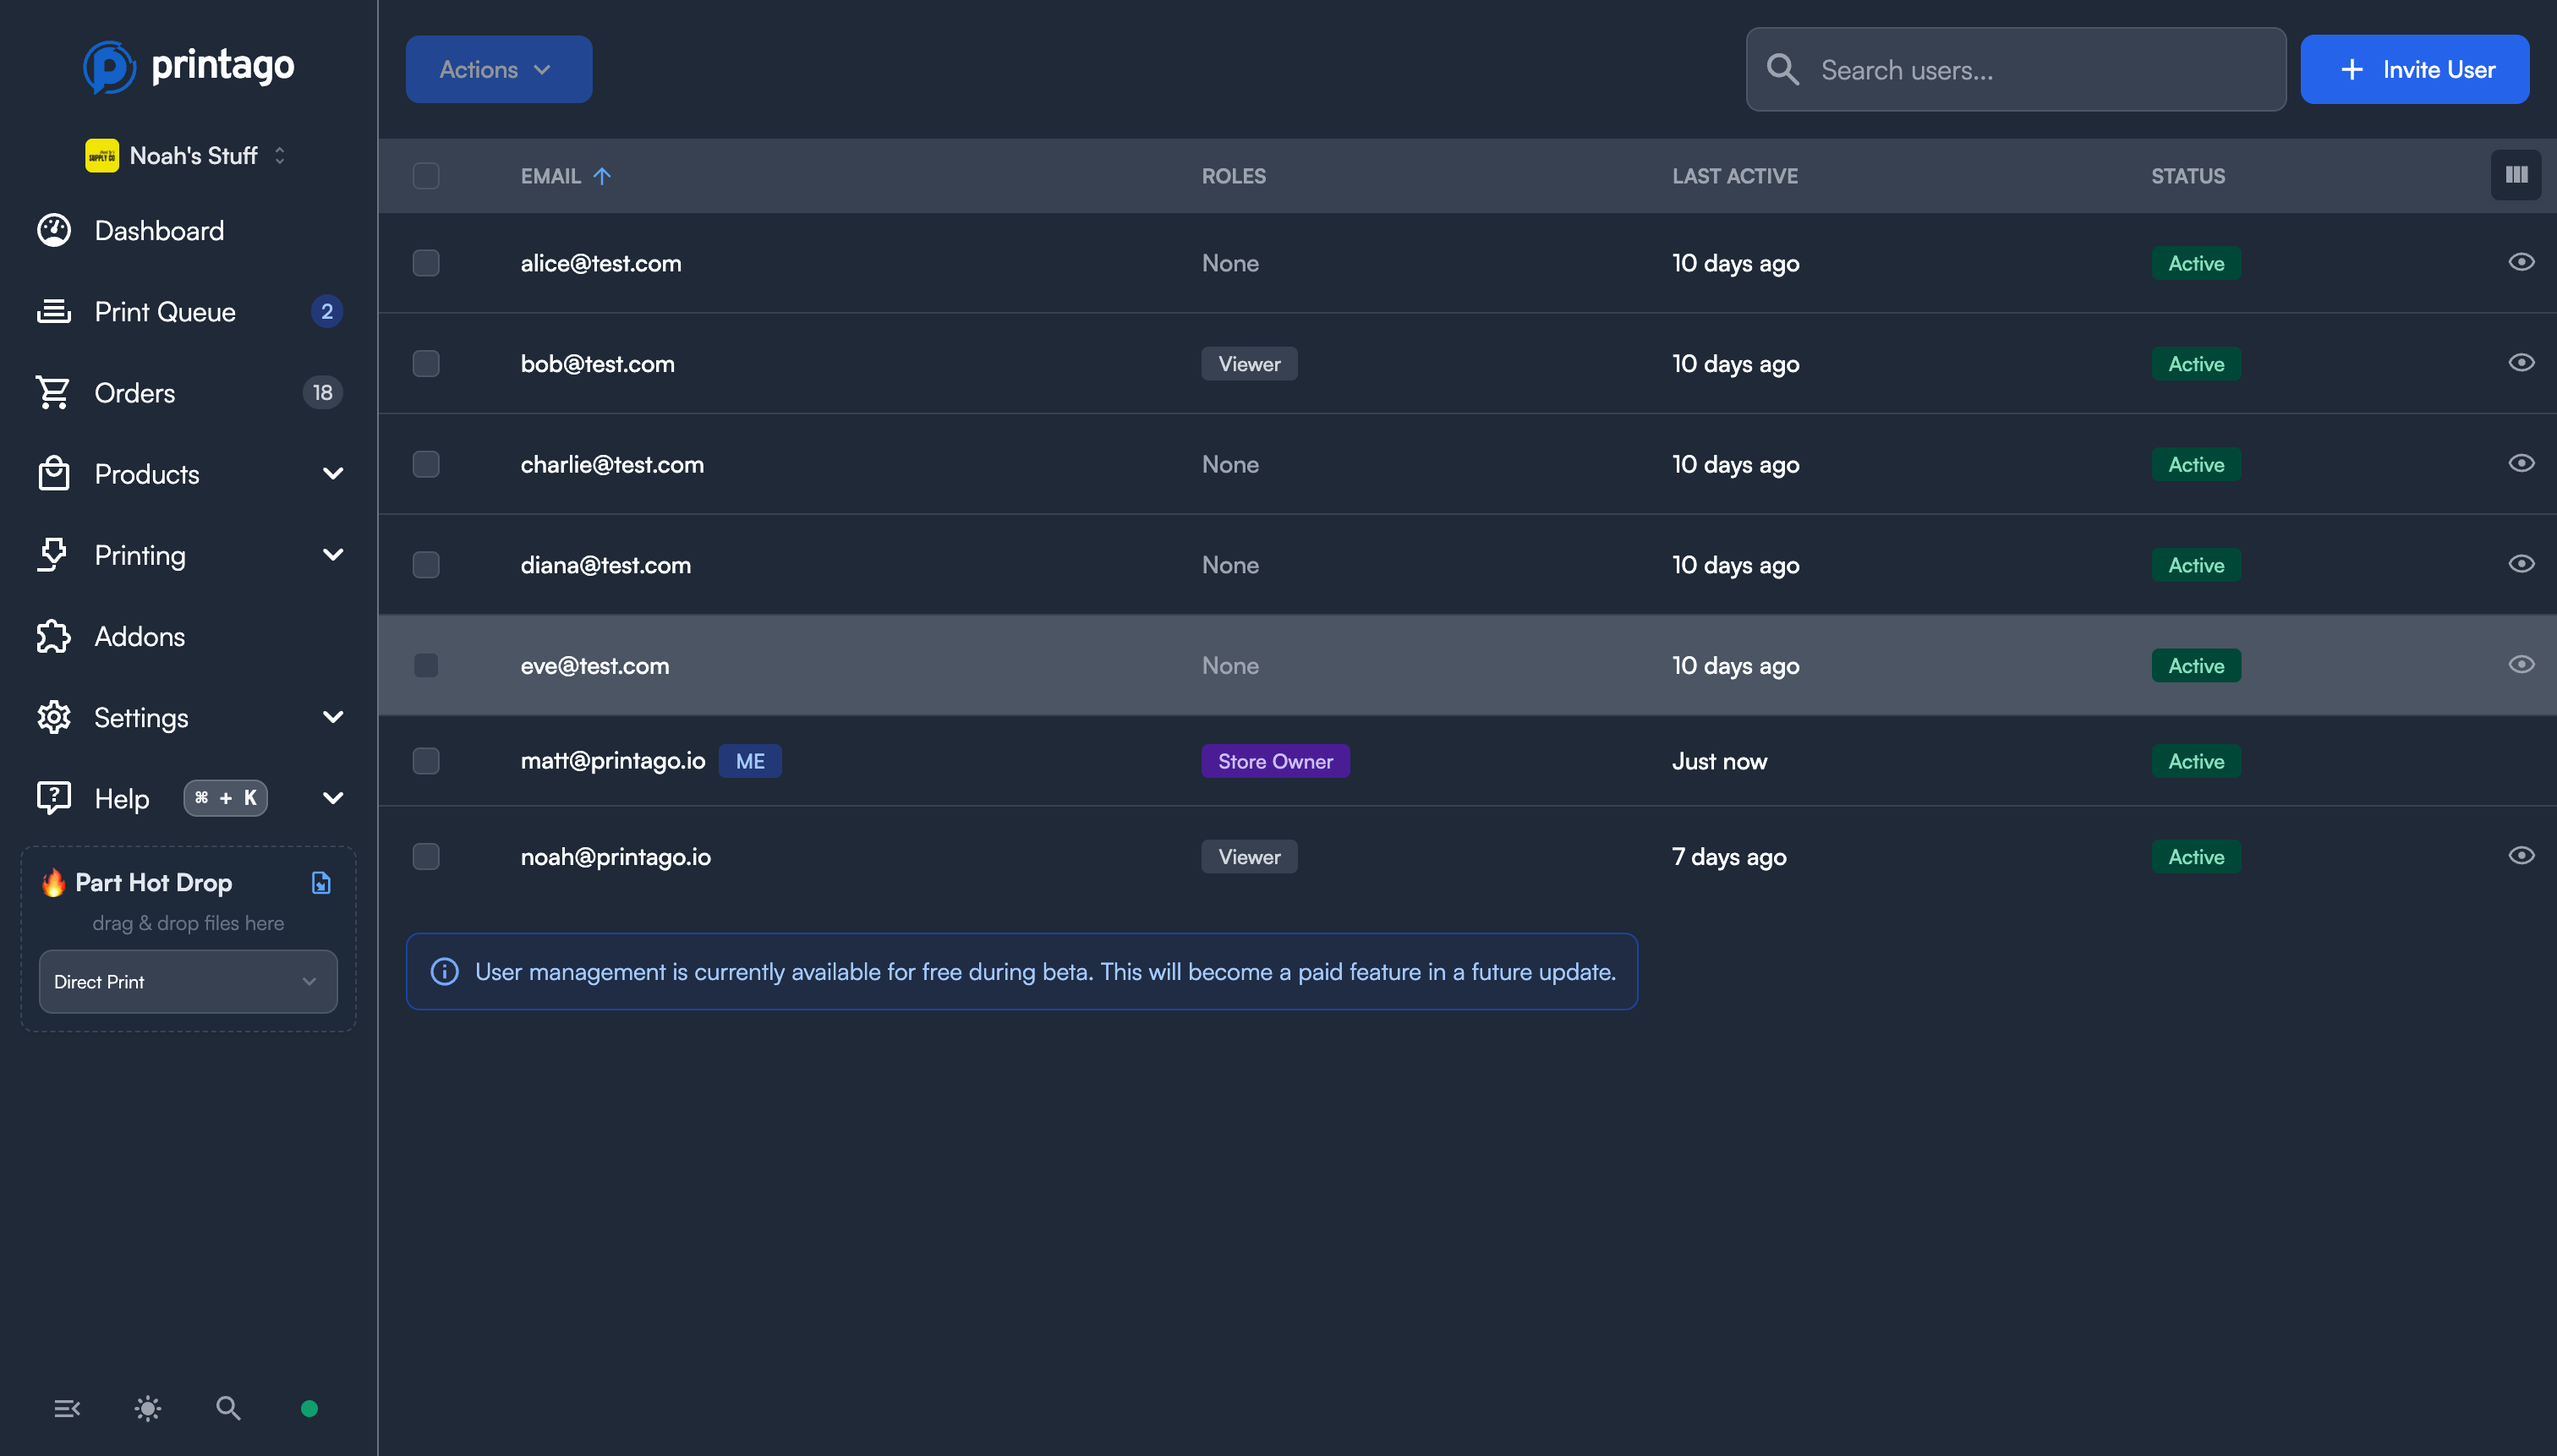
- Navigate to Users from the sidebar
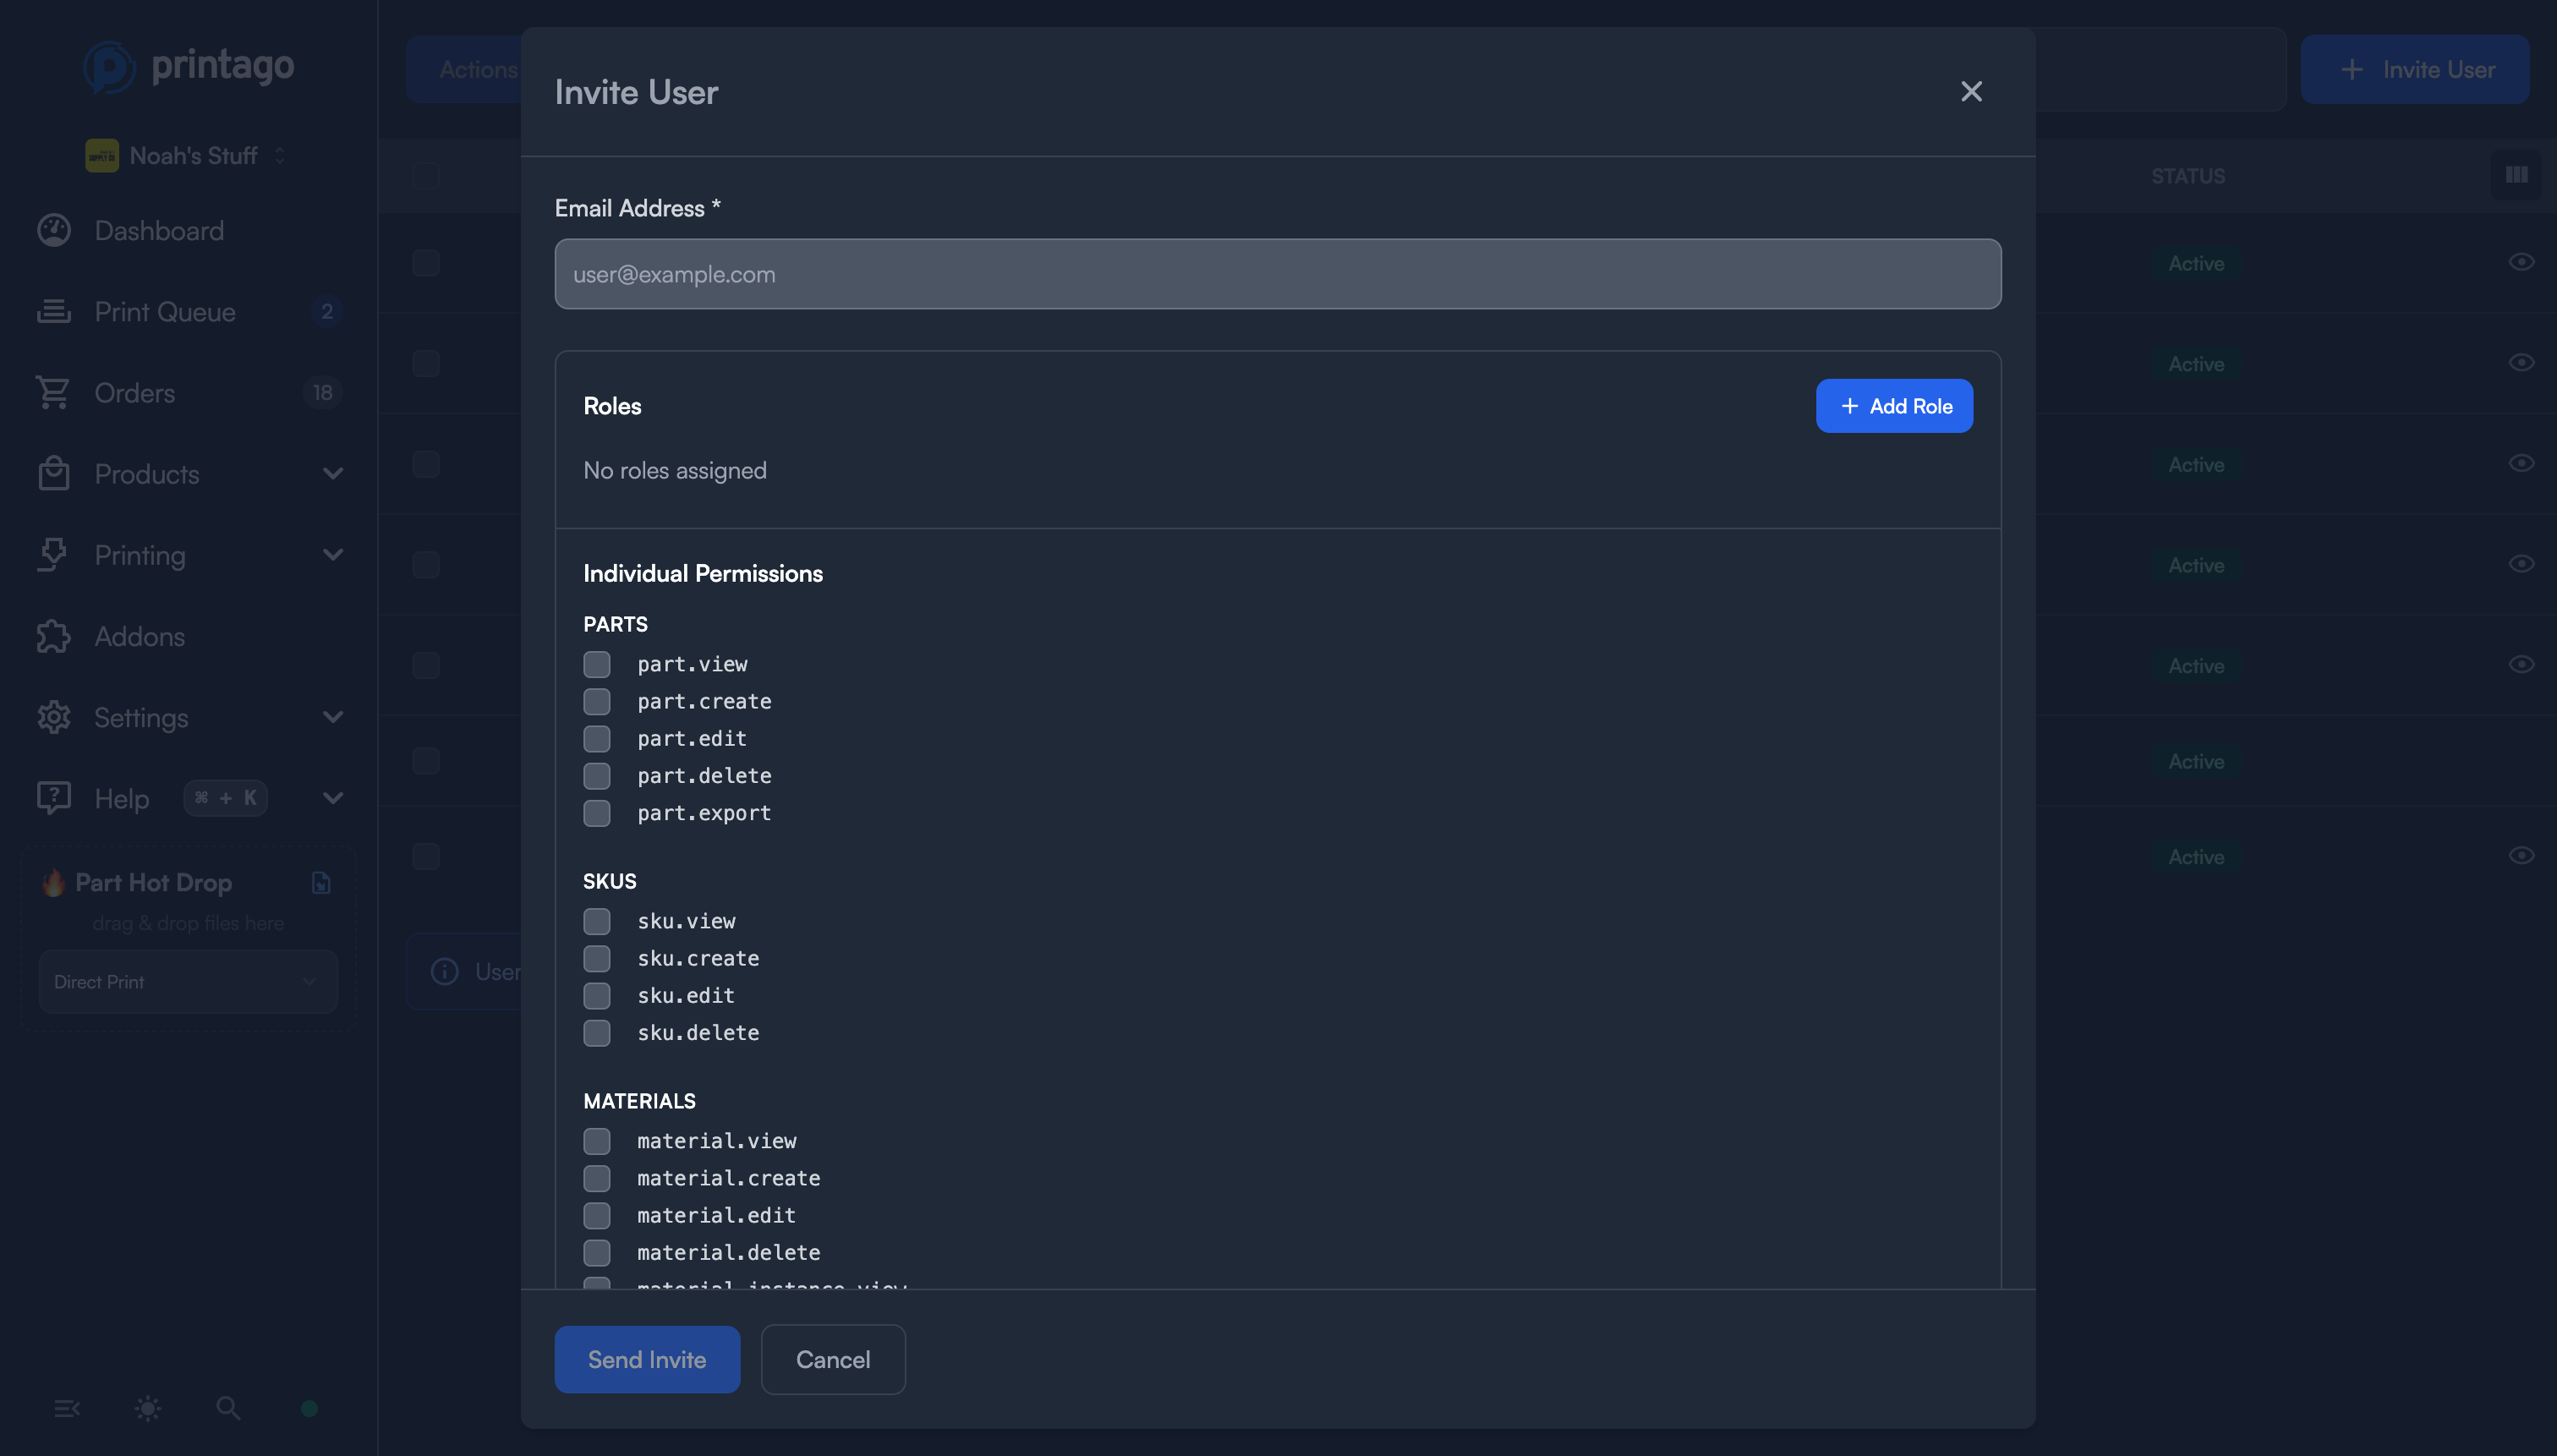
- Click Invite User in the top-right
- Enter the person's email address
- Optionally select a role and/or individual permissions to pre-assign
- Click Send Invite
Printago will send an email with a unique invitation link. The invitation expires after 7 days.
What Happens Next
- New to Printago — the recipient creates an account using the invitation link, and is automatically added to your organization with the assigned role and permissions.
- Existing Printago user — the recipient signs in with their existing account to accept the invitation.
In both cases, the invitation email must match the account email (case-insensitive). This prevents someone from accepting an invitation intended for a different person.
Re-sending & Revoking
From the Users list, pending invitations show Resend and Revoke buttons:
- Resend — extends the expiry by 7 days and sends a fresh email. Can only be used once every 24 hours.
- Revoke — permanently invalidates the invitation link so it can no longer be accepted.
Each organization can send up to 10 invitation emails per day (across all invites and resends). This limit resets daily.
Managing Roles & Permissions
Viewing a User
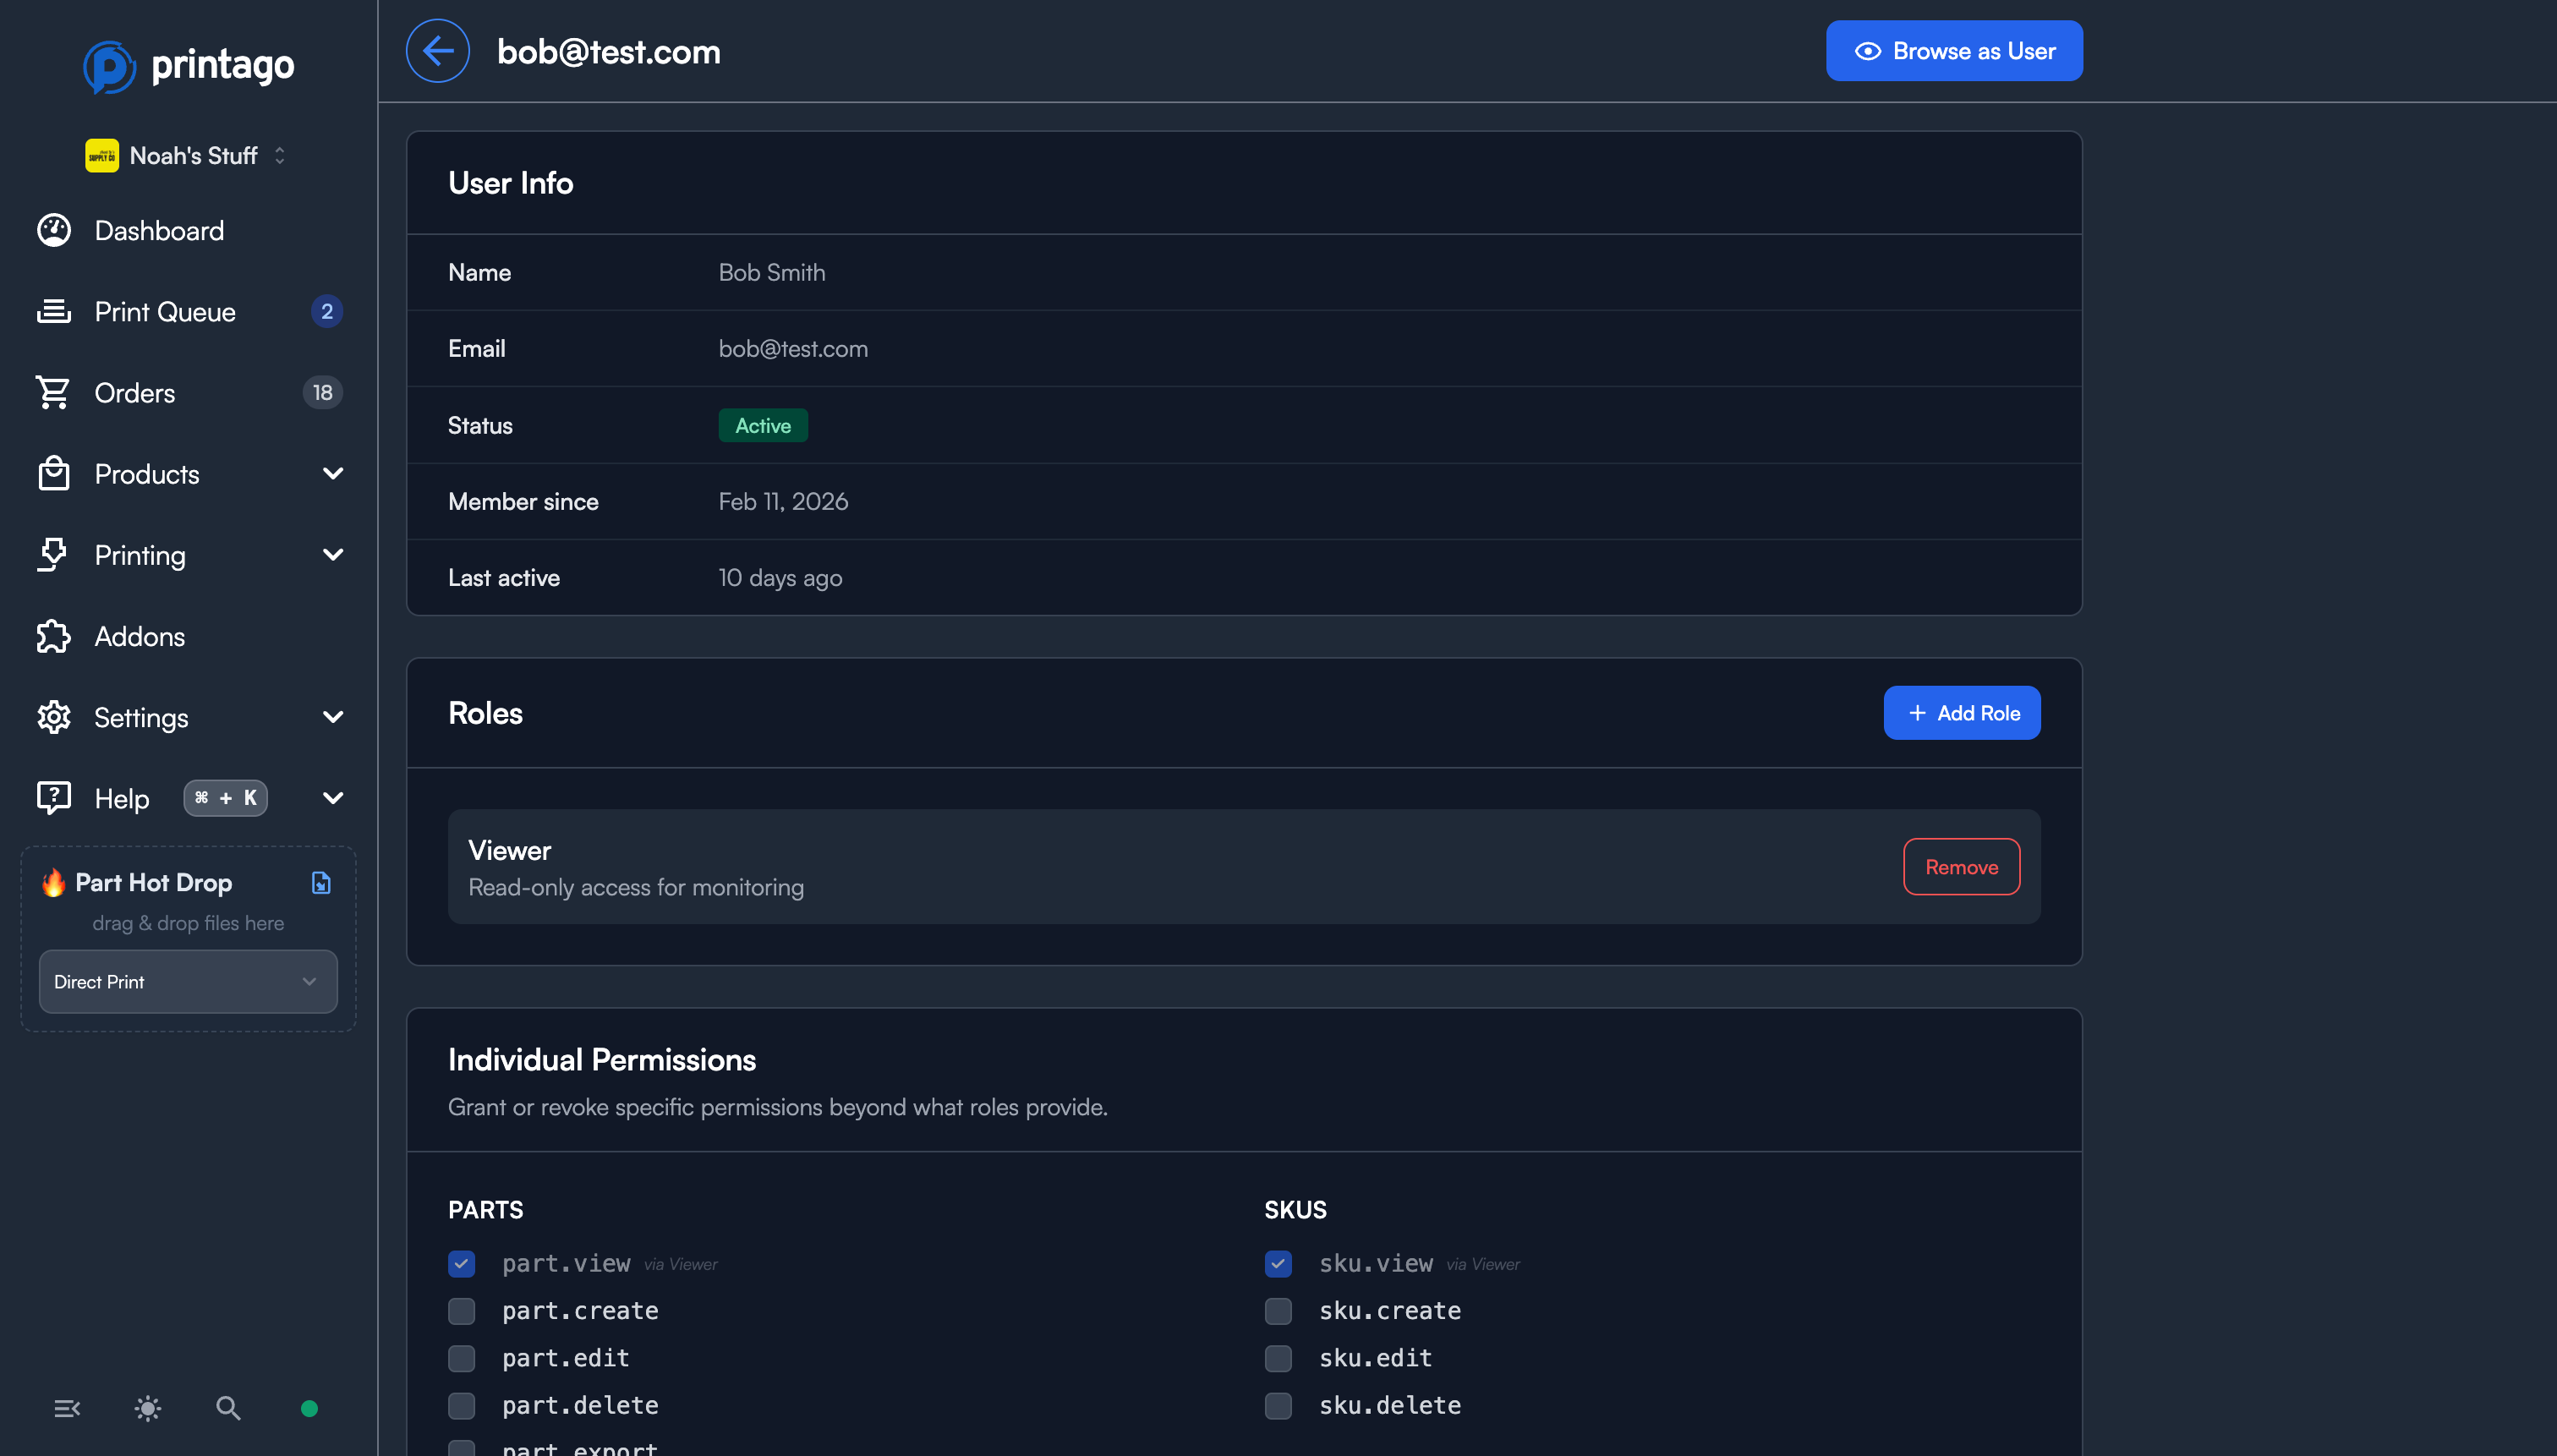
Click any active user row in the Users list to open their detail page. You'll see:
- User Info — email, display name, status, member since date, and last active timestamp.
- Roles — the roles currently assigned, with the ability to add or remove roles.
- Individual Permissions — a full permission grid organized by category. Permissions inherited from a role are shown as checked and disabled, with a label indicating which role grants them.
Assigning Roles
- Open the user's detail page
- In the Roles section, click Add Role
- Select from the available roles (Store Owner is not assignable — there can only be one per organization)
- Click Save Changes at the bottom of the page
You can assign multiple roles to a single user. Permissions are additive — if two roles both grant the same permission, removing one role won't revoke that permission as long as the other role still provides it.
Granting & Revoking Individual Permissions
- Open the user's detail page
- In the Individual Permissions section, check or uncheck permissions
- Permissions already provided by a role appear locked with a "via Role Name" label
- Click Save Changes
You can only grant permissions that you yourself hold. Store Owners are exempt from this restriction and can grant any permission.
Removing a User
At the bottom of a user's detail page, the Danger Zone section includes a Remove User button. Removing a user:
- Revokes all roles and permissions
- Removes them from the organization
- Does not delete their Printago account — they can still be re-invited later
If the user being removed is the Store Owner, you must transfer ownership to another member before proceeding.
Browse As User
Browse As User lets administrators experience the application exactly as another team member sees it — with that user's roles and permissions applied. This is invaluable for troubleshooting access issues, verifying that a new role assignment works correctly, or auditing what a given user can see and do.
Who Can Use It
Browse As User is available to:
- Store Owners — can browse as any user in the organization
- Users with both Permission Grant and Permission Revoke — can browse as non-owner users
How It Works
- From the Users list, click the eye icon on any user row — or open a user's detail page and click Browse as User in the header
- You'll be redirected to the dashboard, now viewing the app through that user's permissions
- An amber banner appears at the top of every page showing whose perspective you're viewing
- While browsing, you can open the permissions drawer to adjust the user's roles and permissions in real-time
- Click Exit & Save to persist any permission changes you made, or Exit to discard them
While browsing as another user, you are subject to their permission restrictions. Pages and actions they cannot access will be hidden or blocked for you as well. This is by design — it gives you an authentic view of their experience.
Related Topics
- Roles & Permissions List — complete reference of all roles and individual permissions
- API Keys — create scoped API keys with specific permission subsets
Need help with user management? Join our Discord community for support and tips from other users!