Account Settings
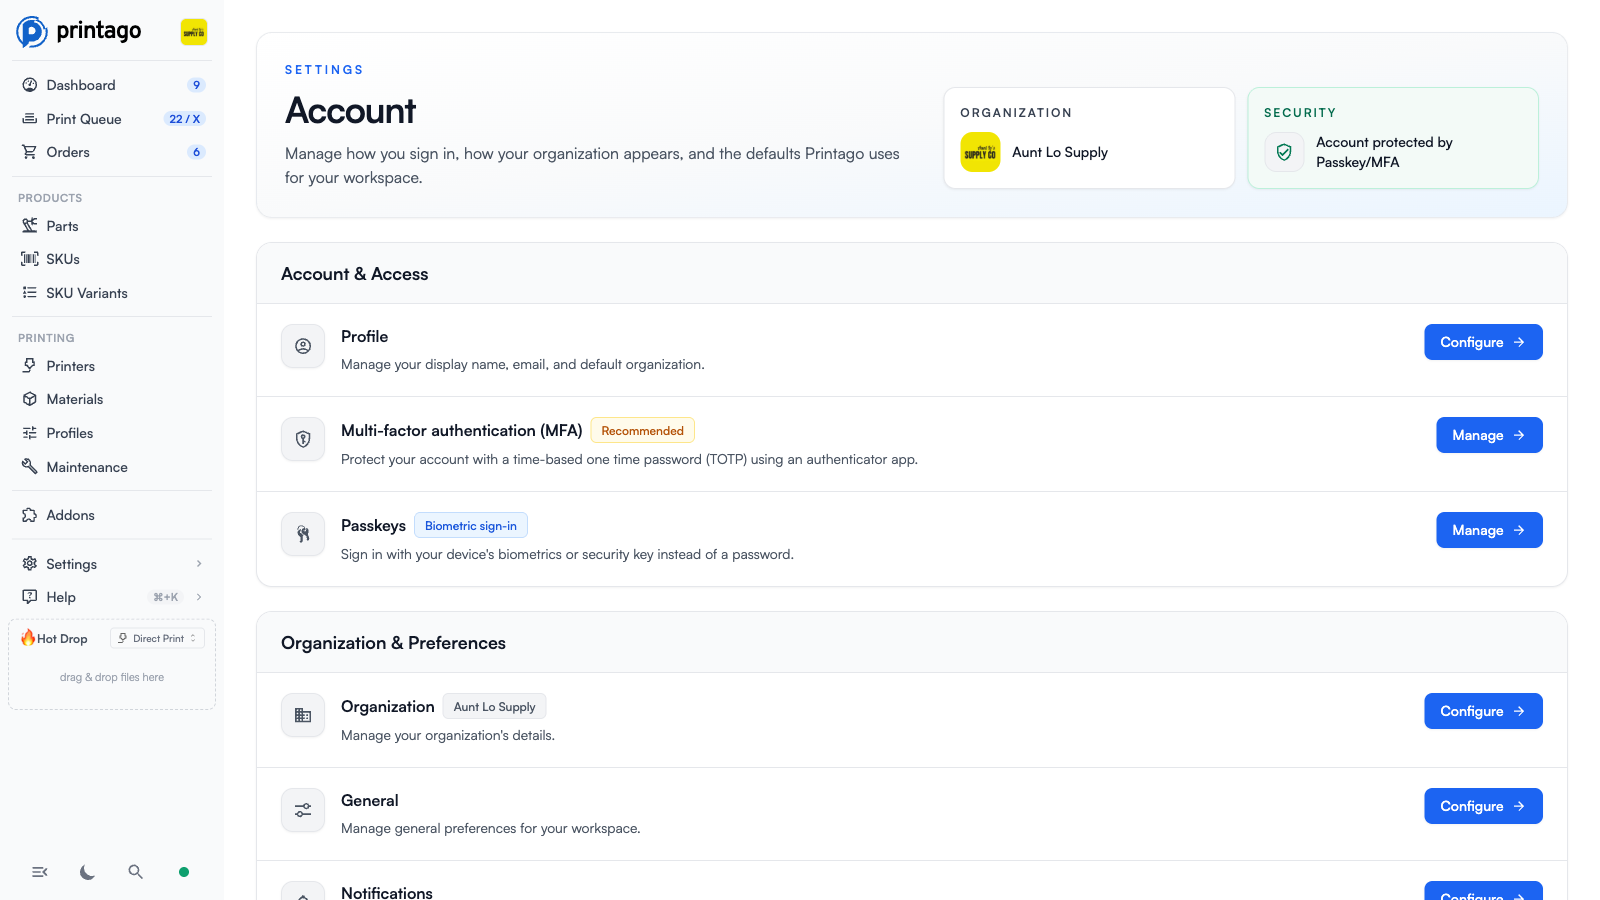
Manage your account settings and preferences from the Settings page in Printago. The Account page is the hub for how you sign in, how your organization appears, and the defaults Printago uses for your workspace. It is organized into sections such as Account & Access (Profile, Multi-factor authentication, Passkeys) and Organization & Preferences (Organization, General, Notifications), each with a Configure or Manage button.
Account Security
Passkeys (Recommended)
Passkeys are the strongest way to secure your Printago account. A passkey lets you sign in using your device's built-in authentication — such as a fingerprint sensor, face recognition, or device PIN — instead of typing a password. Passkeys are phishing-resistant and cannot be reused across sites, making them significantly more secure than traditional passwords.
We recommend all users set up at least one passkey for the best account security.
Setting up a Passkey
- In Printago, go to
Settings>Account - Click
Manageon the "Passkeys" row and add a passkey - Follow your browser or device prompt to create a passkey (this may use your fingerprint, face, device PIN, or a hardware security key)
- Give the passkey a name so you can identify it later (e.g., "MacBook", "iPhone", "YubiKey")
You can register multiple passkeys — for example, one on your laptop, one on your phone, and a hardware security key as a backup.
Passkeys and MFA
When you sign in with a passkey, multi-factor authentication (MFA) is not required. Passkeys are inherently a stronger form of authentication than a password combined with a one-time code, so the additional MFA step is skipped.
Multi-factor Authentication (MFA)
MFA is available for users who sign in with a password. It adds an extra layer of security by requiring a time-based one-time password (TOTP) from an authenticator app each time you log in. This helps protect your account even if your password is compromised.
If you sign in using a passkey, MFA is not prompted — passkeys already provide stronger security than password + TOTP.
Setting up MFA
- In Printago, go to
Settings>Account - Click
Manageon the "Multi-factor authentication (MFA)" row and enable MFA - Download an authenticator app on your phone (such as Google Authenticator, Authy, or 1Password)
- Scan the QR code with your authenticator app
- Enter the 6-digit code from your authenticator app to confirm setup
- Save your backup codes in a secure location
Using MFA
Once enabled, you'll need to enter a 6-digit code from your authenticator app each time you log in to Printago with your password.
Notifications
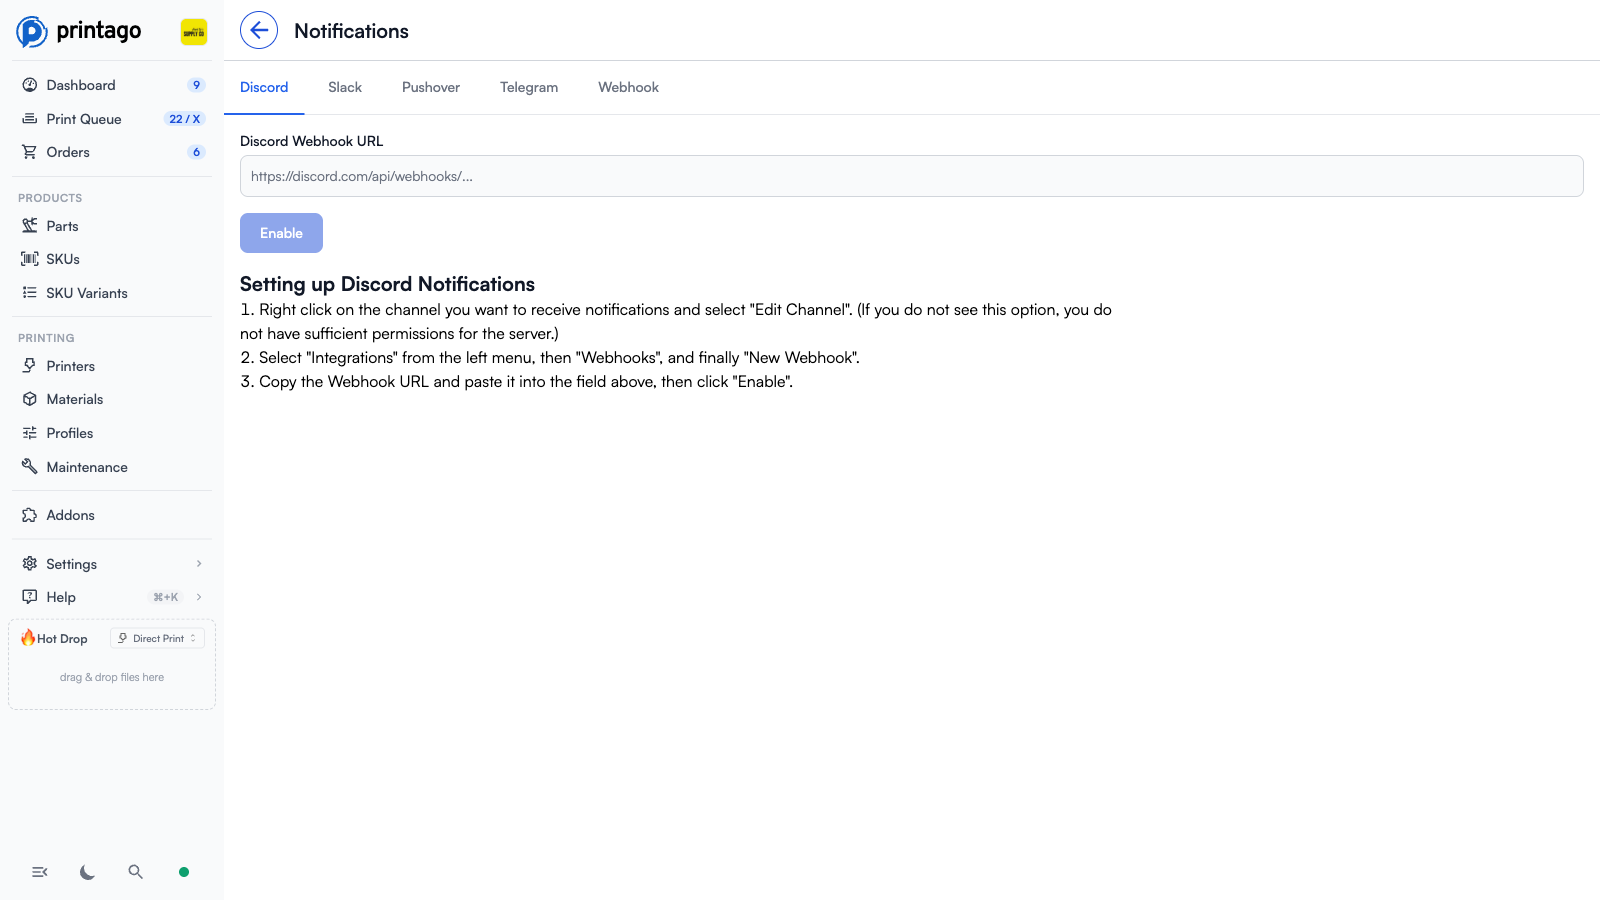
Deliver printer and print job notifications to Discord, Slack, Pushover, Telegram, or a custom webhook. Each channel has its own tab on the Notifications page (Settings > Account > Notifications) with setup instructions, for example pasting a Discord webhook URL and clicking Enable.
Printago can send real-time notifications about your print farm operations, including job completions, printer errors, and other important events.
Learn more about setting up Notifications
General Settings
Configure general workspace preferences from Settings > Account > General.
Auto-match Materials for New Parts
When enabled, Printago automatically matches embedded filament colors to your material library when you upload a new part. This saves time by pre-filling the material slots. Disabled by default.
Auto-match Materials on Re-upload
When enabled, Printago automatically matches embedded filament colors to your material library when you replace an existing part's file. Disable this to keep your existing material assignments unchanged when re-uploading. Disabled by default.
AMS Slot Selection
Controls which slot the queue matcher assigns when a job's material is loaded in more than one slot on the same printer:
- Lowest slot first (left-to-right) — the leftmost matching slot (AMS A slot 1, then 2, …). Default.
- Highest slot first (right-to-left) — the rightmost matching slot.
- Most-empty spool first — the matching slot with the least filament remaining, so nearly-empty spools get used up first.
- Most-full spool first — the matching slot with the most filament remaining.
This only affects printers where the same material is loaded in multiple slots; when a material is in a single slot, that slot is always used. See Choosing Among Duplicate Slots for details.
FabMatic Ignored Error Codes
By default, any printer error trips FabMatic off so the queue stops advancing. Some printers report nuisance error codes that aren't real failures for your setup (for example, a sensor or accessory error that recurs at the end of every print without affecting the part), and having those stop continuous printing every time can be disruptive.
Use this setting to list error codes that FabMatic should ignore. When a finished or errored print's only problems are codes on this list, FabMatic stays enabled and the queue keeps going. Any code that is not on the list still trips FabMatic off as usual.
The list is matched against two sources on the printer:
- Health error codes reported by the printer
- Print error code reported for the active print
Health warnings do not turn FabMatic off, so they are not part of this list.
To add a code, click Add code, type the error code, and optionally add a note to remind yourself why it's safe to ignore (for example, "humidity sensor reading, harmless on this unit"). When Printago recognizes the code, it shows the matching error description beneath it so you can confirm you entered the right one. Use the trash icon to remove a code, and click Save to apply.
Error codes vary by printer brand and can be different lengths (for example, an 8-character print error like 0500-400E, or a longer 16-character health code like 0582040000010045). Matching is forgiving about formatting: case, dashes, underscores, and leading zeros are all ignored, so you can paste a code in whatever form you see it on the printer's display or in the print job's error message.
Only ignore codes you have confirmed are harmless for your setup. Ignoring a genuine fault code means FabMatic can keep starting jobs on a printer that needs attention.
Slicer Settings
Configure your preferred slicer for Printago's cloud-slicer. We support production releases of OrcaSlicer and Bambu Studio, with additional slicers coming soon. You're not bound to this setting - it's just your default.
Preferred Slicer Options
Choose your default slicer to be used throughout Printago:
- Printago Default (currently OrcaSlicer 2.3.0) - Our recommended default
- Latest OrcaSlicer - Always use the newest OrcaSlicer version
- Latest Bambu Studio - Always use the newest Bambu Studio version
- Specific Version - Choose from our slicer library including:
- OrcaSlicer versions (2.3.0, 2.2.0)
- Bambu Studio versions (2.1.1, 2.0.1, 1.10.2, 1.10.1)
- PrusaSlicer (coming soon)
- SuperSlicer (coming soon)
Available Slicers
- OrcaSlicer (Community-driven) - Open-source slicing software with advanced optimization features
- Bambu Studio (Official Bambu) - Optimized specifically for Bambu Lab printers
- PrusaSlicer (Official Prusa) - Coming Soon - Official slicing software developed by Prusa Research
- SuperSlicer (Community-driven) - Coming Soon - Feature-rich fork of PrusaSlicer with additional advanced settings
Learn more about Printago's Cloud Slicer
Affiliate Program
Our affiliate program offers you commission for referring paying customers.
Earn money by referring new users to Printago! When someone signs up using your referral link and becomes a paying customer, you'll receive a commission.
How it Works
- Join the affiliate program through your account settings
- Share your unique referral link with potential customers
- Earn commission when referred commercial users subscribe to Printago
- Track your referrals and earnings through the affiliate portal
- No purchase nessessary - you don't need to be a commercial user of our software to participate - or any type of user! (Though we'd prefer if you do!)
Become an affiliate to access the full affiliate portal and start earning.