Adding Parts
Parts are the foundation of your 3D printing workflow in Printago. A part represents any 3D model that you want to print, and can be used across multiple SKUs.
Supported File Types
Printago supports the most common 3D model file formats. For a complete list of supported file formats and their capabilities, see our Supported File Types guide.
Adding Your First Part
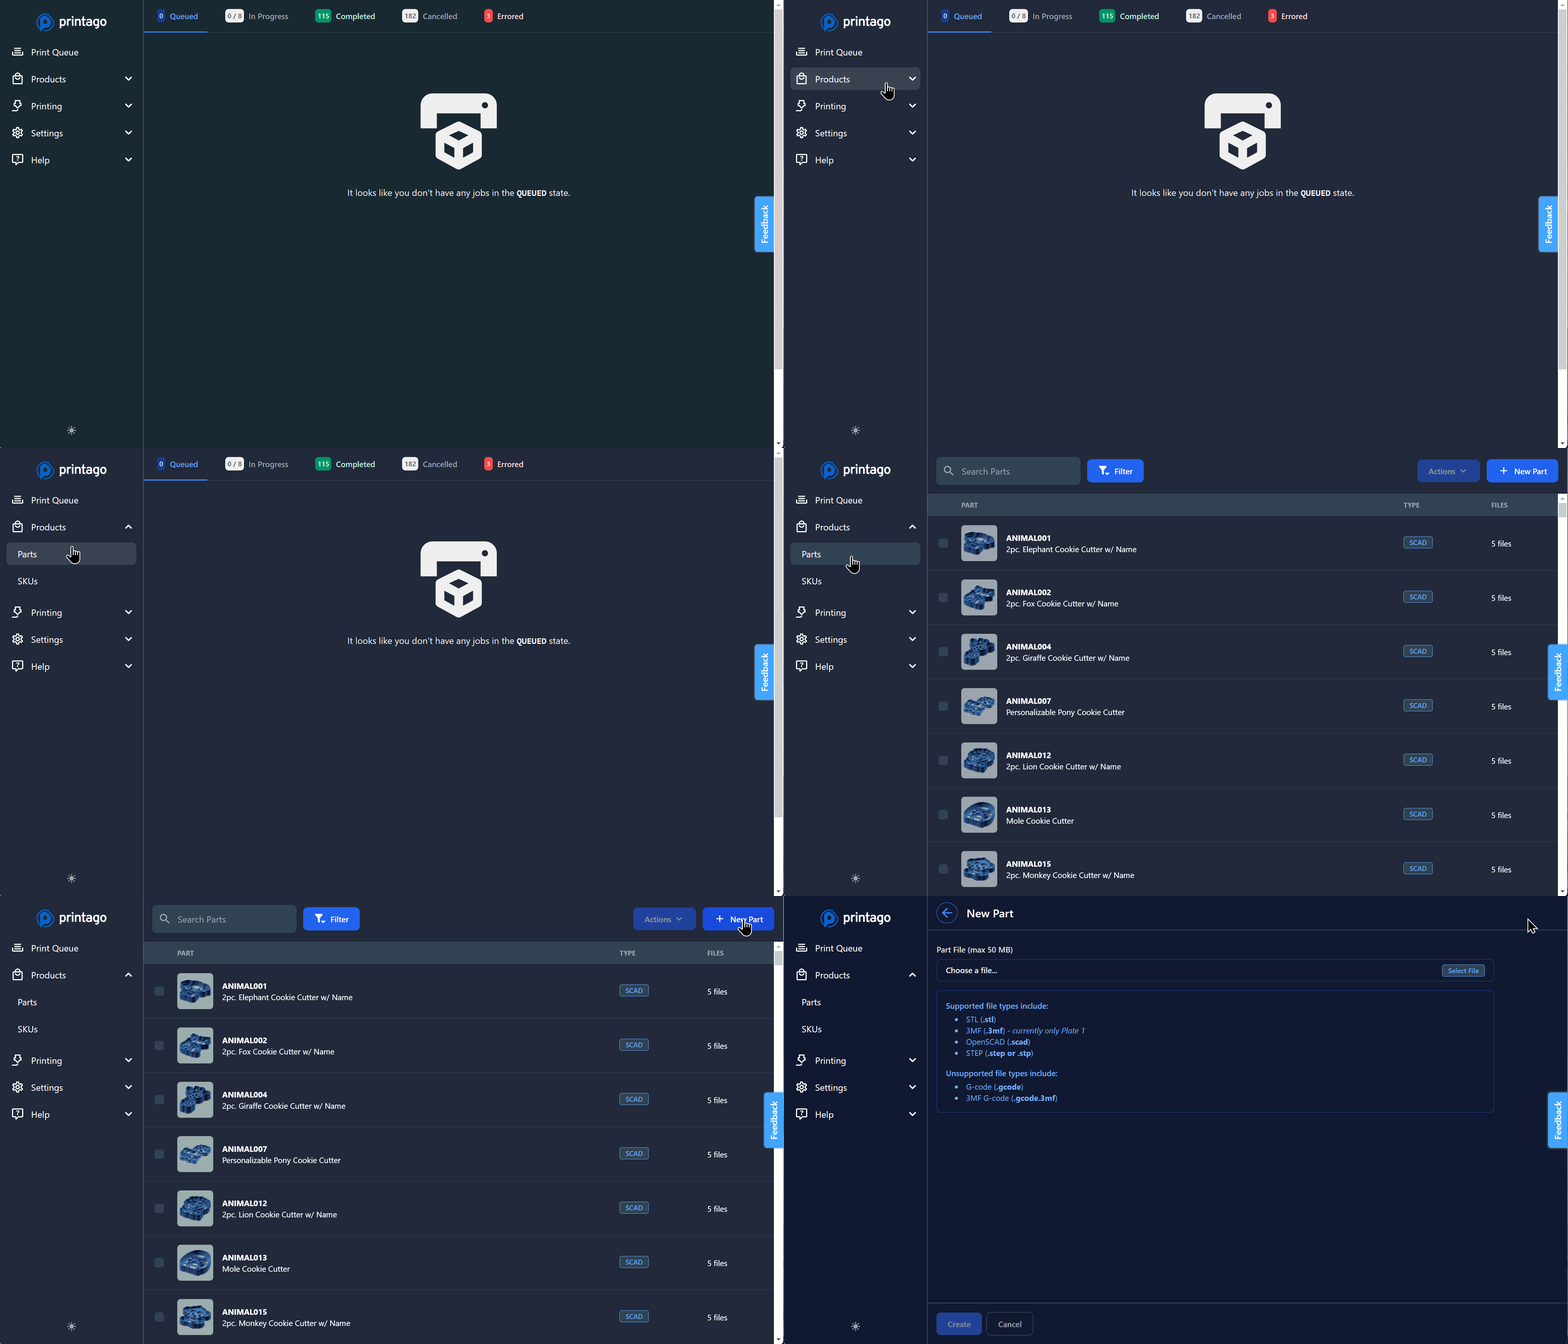
- Navigate to
Products -> Parts. - Click the
+ Add Partbutton in the top right
- Click to browse and locate your model on your computer.
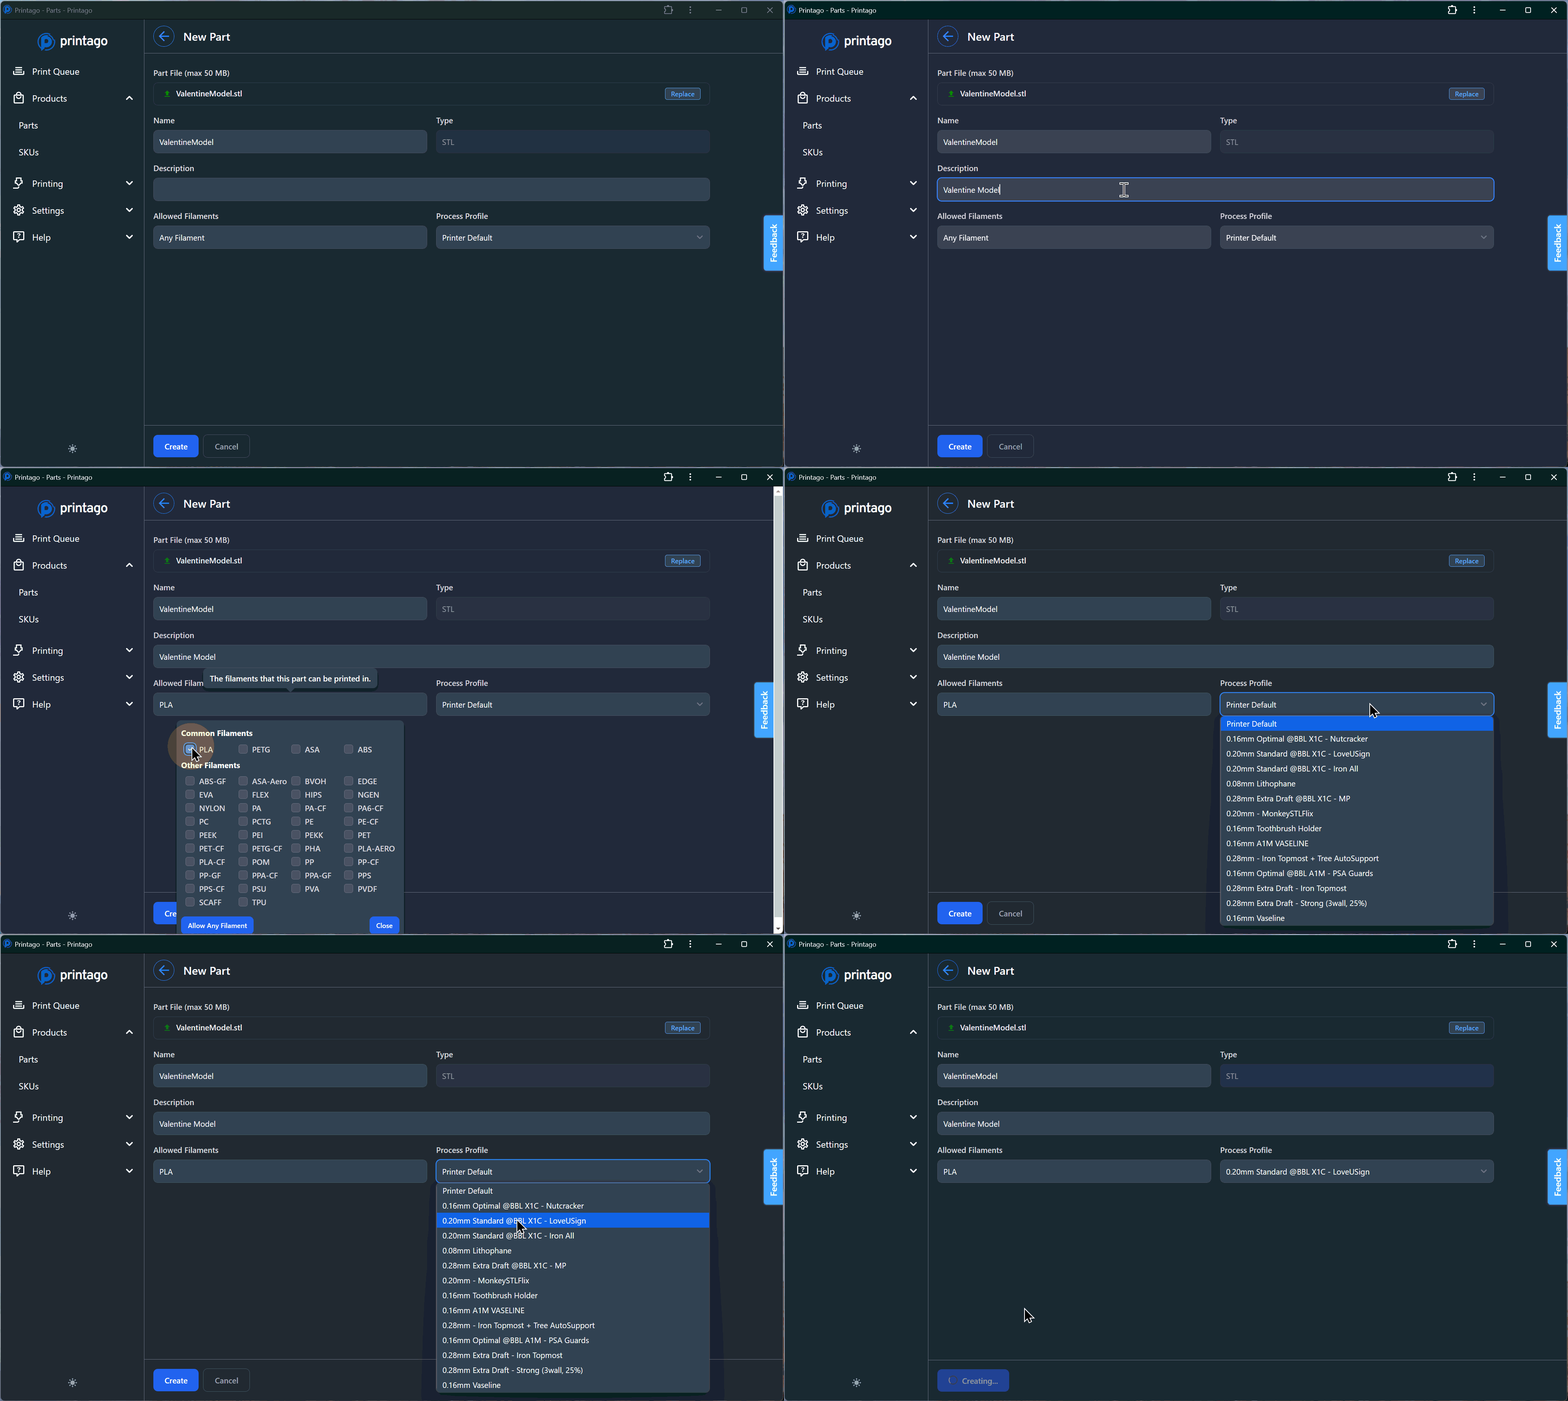
- Give your part a name and description
- Select the
Allowed Filamentsfor the part, as required. This restricts parts to match with printers loaded with this material type. - Coming Soon: Assign Color Group Requirement
- Select a
Process Profileto assign to the part. - Click "Save" to add the part to your library

Printago slices your parts on-demand when they're assigned to a printer. If you haven't set a specific Process Profile for a part, we'll use the printer's default settings.
-
Cross-Printer Compatibility - Your process profiles work across your entire mixed-printer farm. Create a profile once in your slicer, and use it anywhere—whether you're printing on an X1C or an A1 Mini.
-
Maintainability - Forget about managing G-code files. Just version your 3D models, and let us handle the rest. We generate and cache G-code behind the scenes (don't worry, you can still download it if needed). When Bambu Lab releases new slicer features, just sync your profiles and we'll automatically re-slice your parts with the latest improvements.
OpenSCAD Parameters
If you're using OpenSCAD files, you'll also:
- Be prompted to upload any files leveraged via
importorusestatements. - See parsed parameters, their types, and default values.
See our OpenSCAD Part Guide guide for more details.
3MF-Specific Settings
When using 3MF files, Printago preserves:
- Object placement on the build plate
- Support structure settings
- Seam placement settings
- Only the first build plate will be processed from multi-plate files.
- Slicing settings must be saved in Bambu Studio or Orca Slicer, not embedded within the 3MF file.
- Color-Painted projects are fully supported, however, without any AMS mapping options
(
SLOT1->SLOT1andSLOT2->SLOT2, as so on)
Printago assumes each of your parts will fit on any of your printers. It is (currently) up to you, the user, to ensure large prints to not get assigned to A1 Mini. If they do, the job will be in the Error tab of the Print Queue page, as it will fail in the slicing phase.
Next Steps
After adding parts to your library, you can:
- Create SKUs using these parts
- Set up automated customization
- Begin production!
Have questions about parts? Join our Discord community for latest info and help!