Notifications
Printago can send real-time notifications about your print farm to a variety of channels. Get instant updates about print completions, errors, and other important events without staying glued to the screen.
Supported Channels
Notifications can be delivered through:
- Discord via an Incoming Webhook
- Slack via an Incoming Webhook
- Telegram via a Telegram Bot
- Pushover via your Pushover account and app
- Webhook to any custom HTTPS endpoint (commercial accounts only)
Each channel is configured independently. You can enable any combination of channels and choose which events to receive on each.
Supported Events
When you enable a channel, you select which events trigger a notification. The same event set is available on every channel.
Print job events
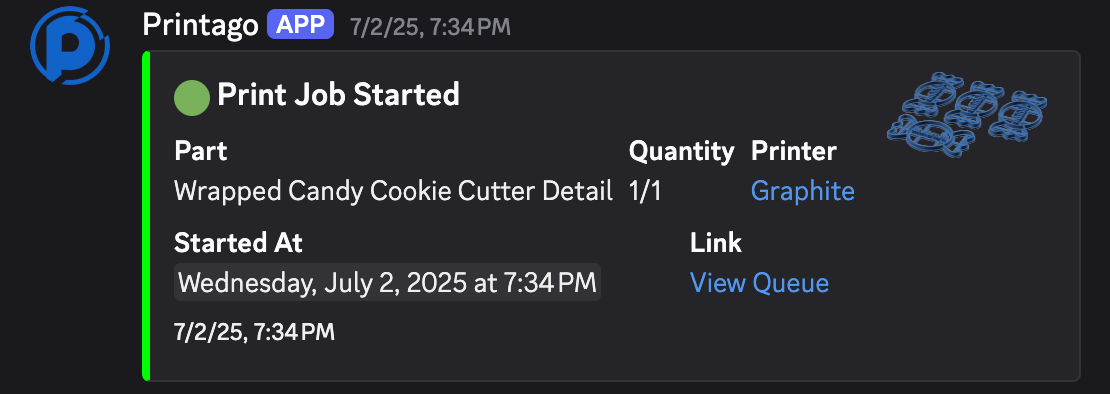
- Job started
- Job succeeded
- Job failed
- Job cancelled
Printer events
- Printer online
- Printer offline
- Printer HMS error
- Printer HMS warning
- Continuous print disabled
Order events
- Order created (manual)
- Order created (retail)
- Order cancelled
- Order closed
- Orders auto-printed
Maintenance events
- Maintenance mode on
- Maintenance mode off
- Maintenance due soon
- Maintenance overdue
Material usage events
- Material usage recorded
Discord Notifications
Printago can post events into a Discord channel through Discord's built-in Incoming Webhooks.
1. Create a Discord Webhook
- Open Discord and navigate to the server where you want notifications.
- Right-click the channel and select
Edit Channelor click the⚙️icon. - Click
Integrationsin the left sidebar. - Click
Create Webhook. - Give your webhook a name (e.g. "Printago Notifications").
- Copy the webhook URL, you'll need this for Printago.

Keep your webhook URL private. Anyone with this URL can post messages to your channel.
2. Configure Printago
- In Printago, go to
Settings>Account. - Click
Configurein the "Notifications" tile. - Choose the Discord channel.
- Paste your webhook URL.
- Click
Enable. - Select which events you want notifications for.
Slack Notifications
Printago can post events into a Slack channel through Slack's Incoming Webhooks.
1. Create a Slack App and Incoming Webhook
- Go to Create your Slack app and create a new app.
- Choose From scratch, give your app a name (e.g. "Printago Notifications"), and select the workspace where you want to receive notifications.
- In your app settings, navigate to Incoming Webhooks in the left sidebar and toggle Activate Incoming Webhooks to on.
- Click Add New Webhook to Workspace, choose the channel where you want to receive notifications, and click Allow.
- Copy the generated Webhook URL. It will look like
https://hooks.slack.com/services/T00000000/B00000000/XXXX....
Keep your Slack webhook URL secret. Anyone with this URL can post messages to your Slack channel.
2. Configure Printago
- In Printago, go to
Settings>Account. - Click
Configurein the "Notifications" tile. - Choose the Slack channel.
- Paste your webhook URL.
- Click
Enable. - Select which events you want notifications for.
Telegram Notifications
Printago sends events to Telegram through a bot you create with BotFather. The bot can deliver messages to a direct chat with you, a group, or a channel.
1. Create a Telegram Bot
- Open Telegram and search for @BotFather, the official bot for creating and managing bots.
- Start a chat with BotFather and send the command
/newbot. - Follow the prompts to choose a name (e.g. "Printago Notifications") and a username for your bot. The username must end in
bot(e.g.printago_notify_bot). - BotFather will give you a bot token that looks like
123456:ABC-DEF1234ghIkl-zyx57W2v1u123ew11. Copy and save this token.
2. Find Your Chat ID
For a direct message to yourself:
- Start a chat with your bot by searching for its username.
- Send any message to your bot.
- Visit
https://api.telegram.org/bot<YOUR_BOT_TOKEN>/getUpdates. - Look for the
chat.idvalue in the response (it will be a number).
For a channel or group:
- Add your bot to the channel or group as an administrator.
- For public channels, you can use the
@usernameformat (e.g.@mychannel). - For private groups or channels, send a message and check the
getUpdatesURL above. - Group and channel IDs typically start with
-100.
3. Configure Printago
- In Printago, go to
Settings>Account. - Click
Configurein the "Notifications" tile. - Choose the Telegram channel.
- Enter both the Bot Token and Chat ID.
- Click
Enable. - Select which events you want notifications for.
Keep your bot token secret. Anyone with this token can control your bot. For channels, make sure your bot has permission to post messages.
Pushover Notifications
Printago can send mobile push notifications through Pushover, a paid notification service with apps for iOS, Android, and desktop.
1. Set Up Pushover
- Go to Pushover.net and create an account if you don't have one.
- Download the Pushover app on your mobile devices from the Pushover clients page. There is a one-time purchase fee per platform.
- Go to Create New Application and fill in:
- Name: "Printago" (or your preferred name)
- Description: "Notifications from Printago" (optional)
- URL: Leave blank (optional)
- Icon: Optional. You can download the Printago logo or use your own.
- After creating the application, copy the API Token/Key (a 30-character string like
azGDORePK8gMaC0QOYAMyEEuzJnyUi). - Return to your Pushover dashboard and copy your User Key (another 30-character string like
uQiRzpo4DXghDmr9QzzfQu27cmVRsG).
2. Configure Printago
- In Printago, go to
Settings>Account. - Click
Configurein the "Notifications" tile. - Choose the Pushover channel.
- Paste the App Token and User Key into the fields.
- Optionally configure:
- Device: Leave empty to send to all your devices, or specify a device name.
- Priority: Set notification importance. Emergency requires acknowledgment.
- Sound: Choose a notification sound.
- Click
Enable. - Select which events you want notifications for.
Webhook Notifications
For advanced integrations, Printago supports custom webhook notifications that can send events to any HTTPS endpoint. Since webhook notifications require an API key, this feature is restricted to commercial accounts.
Setup Steps
- Set up an HTTPS endpoint on your server that can receive webhook notifications.
- Configure your endpoint to accept
POSTrequests. - Your endpoint should validate the
X-API-Keyheader to ensure the request is from Printago. This key is a secret value that should be kept confidential. - In Printago, go to
Settings>Account, clickConfigurein the "Notifications" tile, choose the Webhook channel, enter your HTTPS endpoint URL, and clickEnableto start receiving notifications.
Webhook Payload Format
When an event occurs, Printago will send a request to your webhook with the following:
- HTTP header:
X-API-Keywith the value you configured - JSON payload with event details in the request body
Endpoint Requirements
Your endpoint must:
- Accept
POSTrequests over HTTPS (HTTP is rejected at configuration time) - Validate the
X-API-Keyheader against the key you configured in Printago - Respond with any
2xxstatus code (200,201,202,204, etc.) to acknowledge receipt - Respond promptly so the request does not time out
Any response status outside the 2xx range, along with connection failures, DNS errors, and timeouts, is treated as a delivery failure.
Delivery Failures and Auto-Disable
Printago does not retry failed deliveries. Each event is sent once. If your endpoint is unreachable or returns a non-2xx response when an event fires, that event is lost. There is no replay or backfill mechanism.
To protect endpoints that are misconfigured or offline, Printago tracks failures on a rolling 24-hour window. If a webhook accumulates 10 or more failed deliveries within 24 hours, the integration is automatically disabled. No further events will be sent until you re-enable it.
When you re-enable a previously disabled webhook, the failure counter is cleared.
Common causes of failures we have seen:
- Endpoint returning
401 Unauthorizedbecause theX-API-Keyvalue on the server does not match the key stored in Printago (often after a key rotation on one side only) - Endpoint returning
404because the receiving workflow or route is not deployed or activated - A reverse proxy, CDN, or WAF stripping the
X-API-Keyheader before it reaches your application - Endpoint timing out under load
Verifying Your Endpoint
Before relying on webhooks in production, confirm:
- A test event reaches your server (check your access logs for an inbound
POSTto your configured URL). - Your server returns a
2xxstatus. - The
X-API-Keyheader arrives intact and matches the key stored in Printago.
If a single delivery succeeds, no failures carry over from a previous disabled state.
API Key Security
The API key is automatically generated for you, but you can customize it if needed. Remember to:
- Keep your API key confidential and secure
- You can change it at any time, but ensure any new key remains sufficiently strong (at least 32 characters)
- Update your webhook receiver if you change the key
Need help with Notifications? Join our Discord community or reach us at support@printago.io