GCODE Macros
Key Concepts
GCODE Macros let you save the operator GCODE you use every day (bed-clearing and part-ejection sequences, purge routines, maintenance moves) and run it on your printers with one click instead of pasting raw GCODE each time. Each macro is a named, reusable block of GCODE with a type that describes its purpose (Bed Clearing, Purge, Maintenance, or Generic) and a list of compatible printer models. Compatibility matters: GCODE is model-specific and can crash another type of printer. A macro only runs on the models you declare it safe for, so a macro with no models listed will not run anywhere.
When you run a macro, the printer executes it exactly as written, with no simulation and no substitution. Motion, heating, and extrusion commands take effect immediately. Always review a macro's GCODE and confirm the printer is clear before running it.
The Macro Library
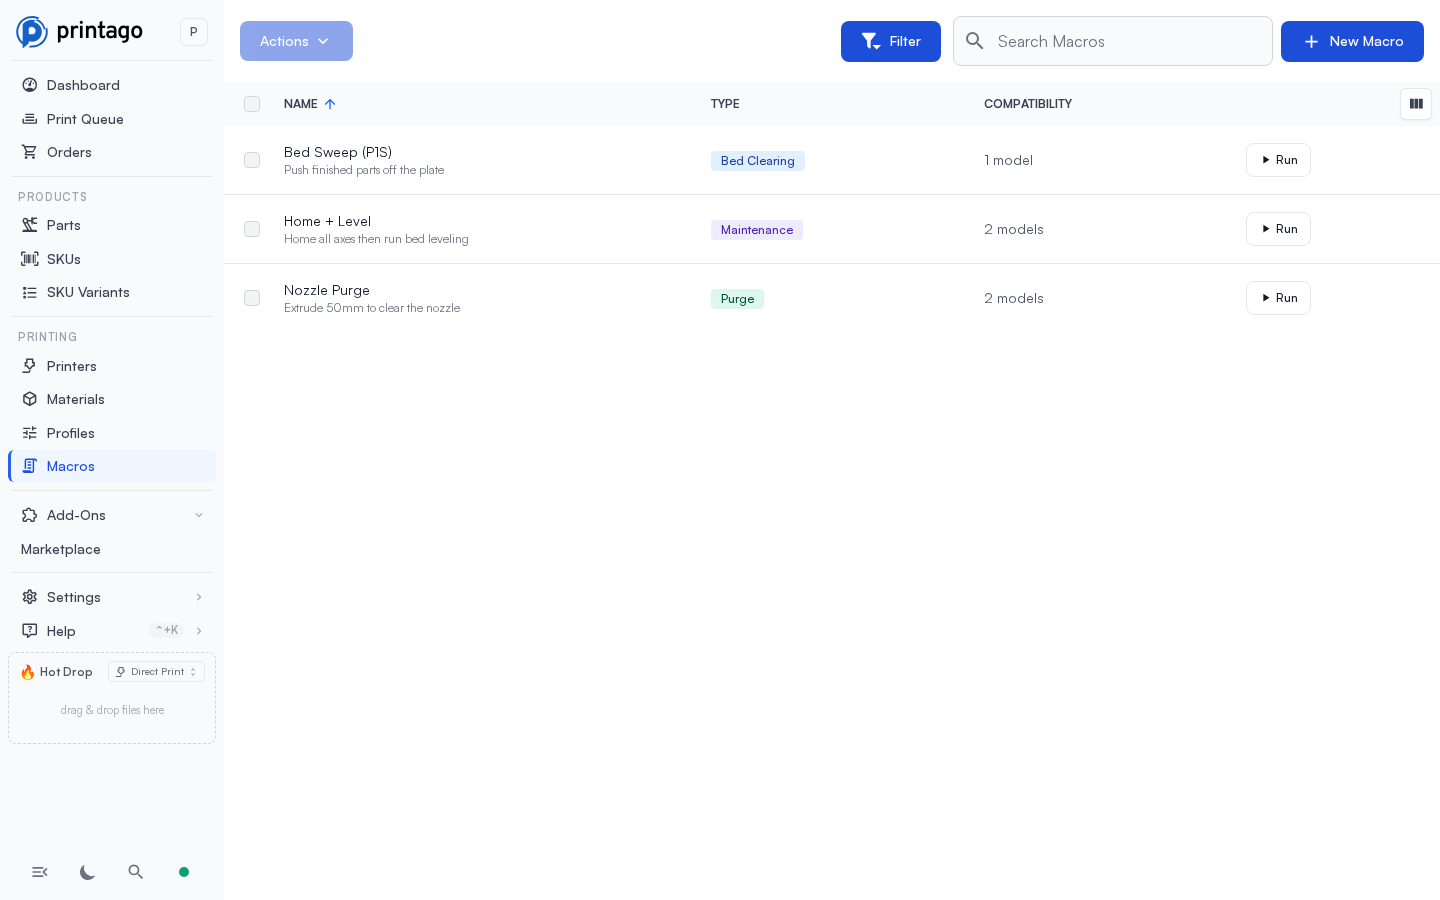
Navigate to Macros under the Printing section of the main menu. The library lists every macro in your organization with its type, description, and how many printer models it is compatible with. From here you can create new macros, edit existing ones, or run a macro directly from its row.
Creating a Macro
- Click New Macro
- Give it a name, pick a type, and optionally add a description. The type is permanent, so pick the one that matches the macro's purpose. It controls where the macro is offered in the app.
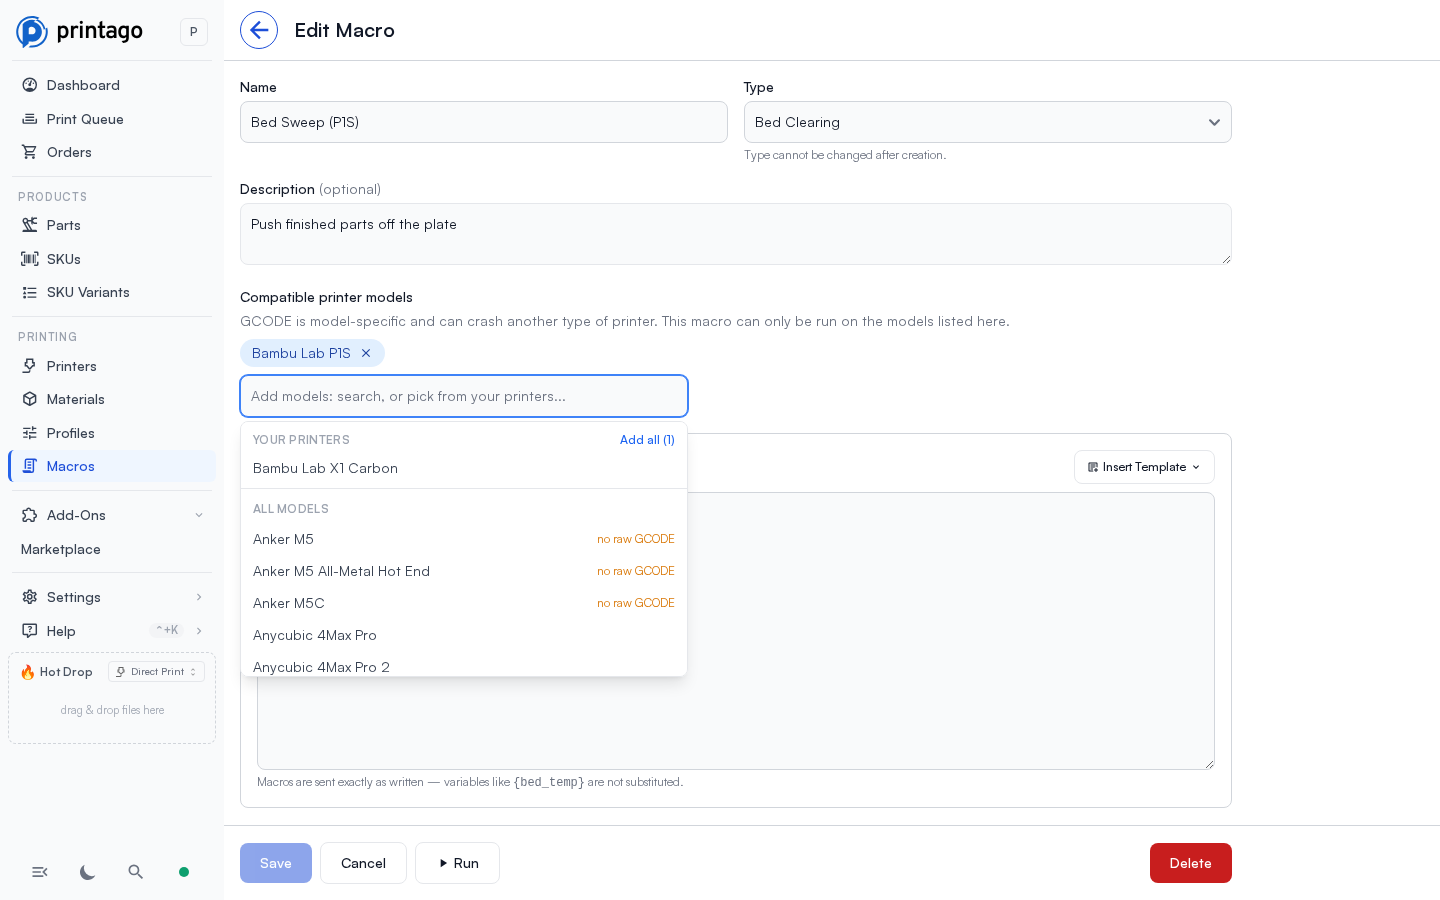
- Add the printer models the macro is safe to run on. The picker lists your fleet's models first (with an Add all shortcut) and lets you search the full catalog below. Models that cannot receive raw GCODE are labelled no raw GCODE. At least one model is required in practice: a macro that lists none cannot run on anything, which keeps a half-finished macro from reaching hardware. For a routine that suits your whole fleet, use Add all.
- Write or paste the GCODE. The Insert Example menu offers starting points for common routines (purge line, bed cooldown and sweep, home and park). Adjust coordinates and temperatures for your machines before saving.
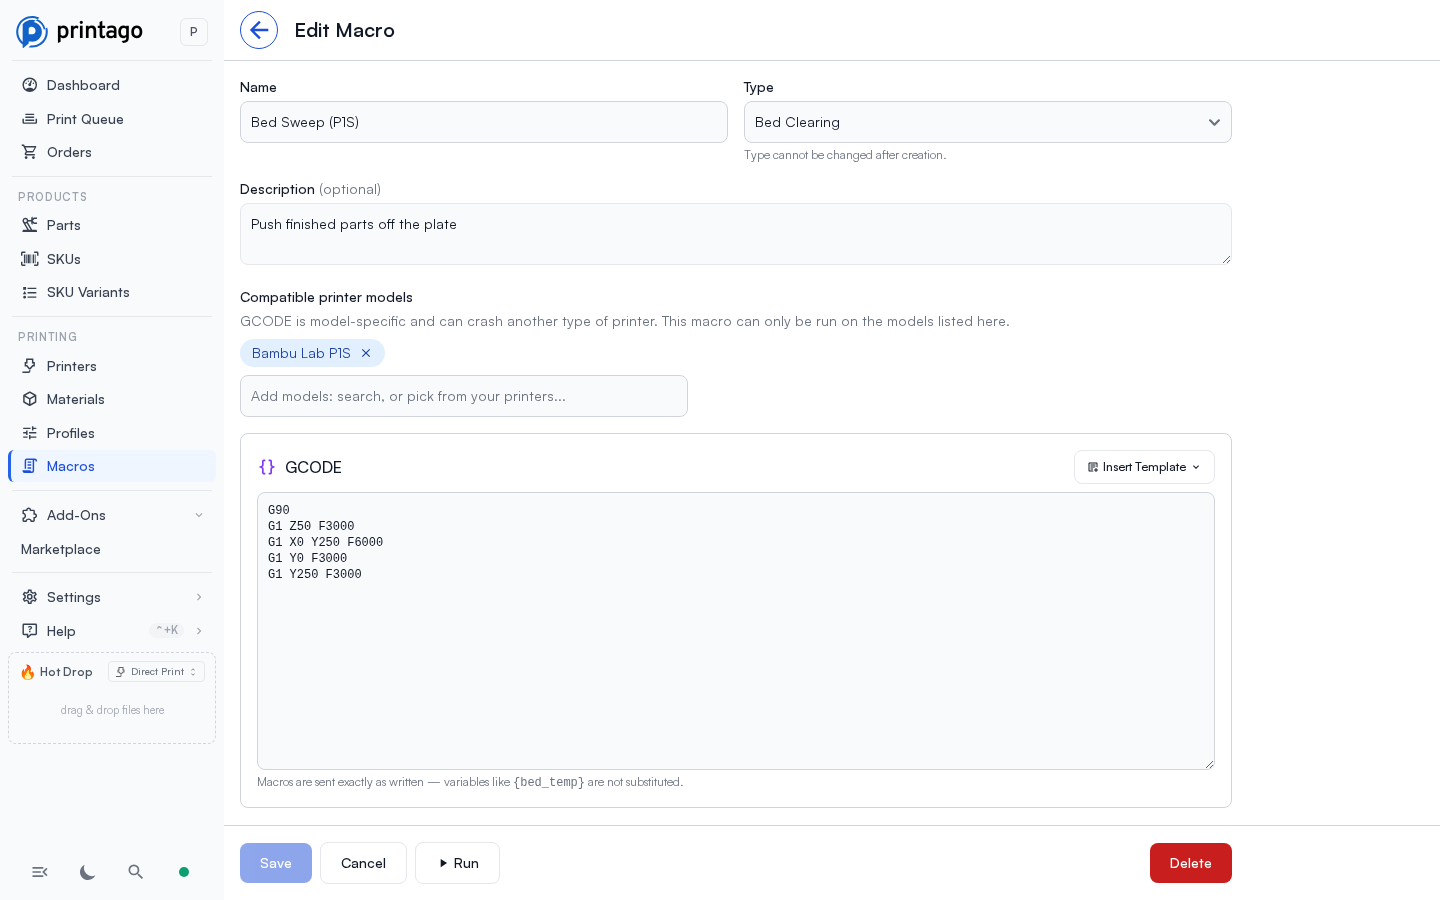
Macros are sent exactly as written. Placeholders such as {bed_temp} are not substituted.
Running a Macro
You can run a macro from four places:
- The Run button on a macro's row in the library
- The Run button when editing a macro
- The ⋮ menu on a printer's detail page (Run Macro)
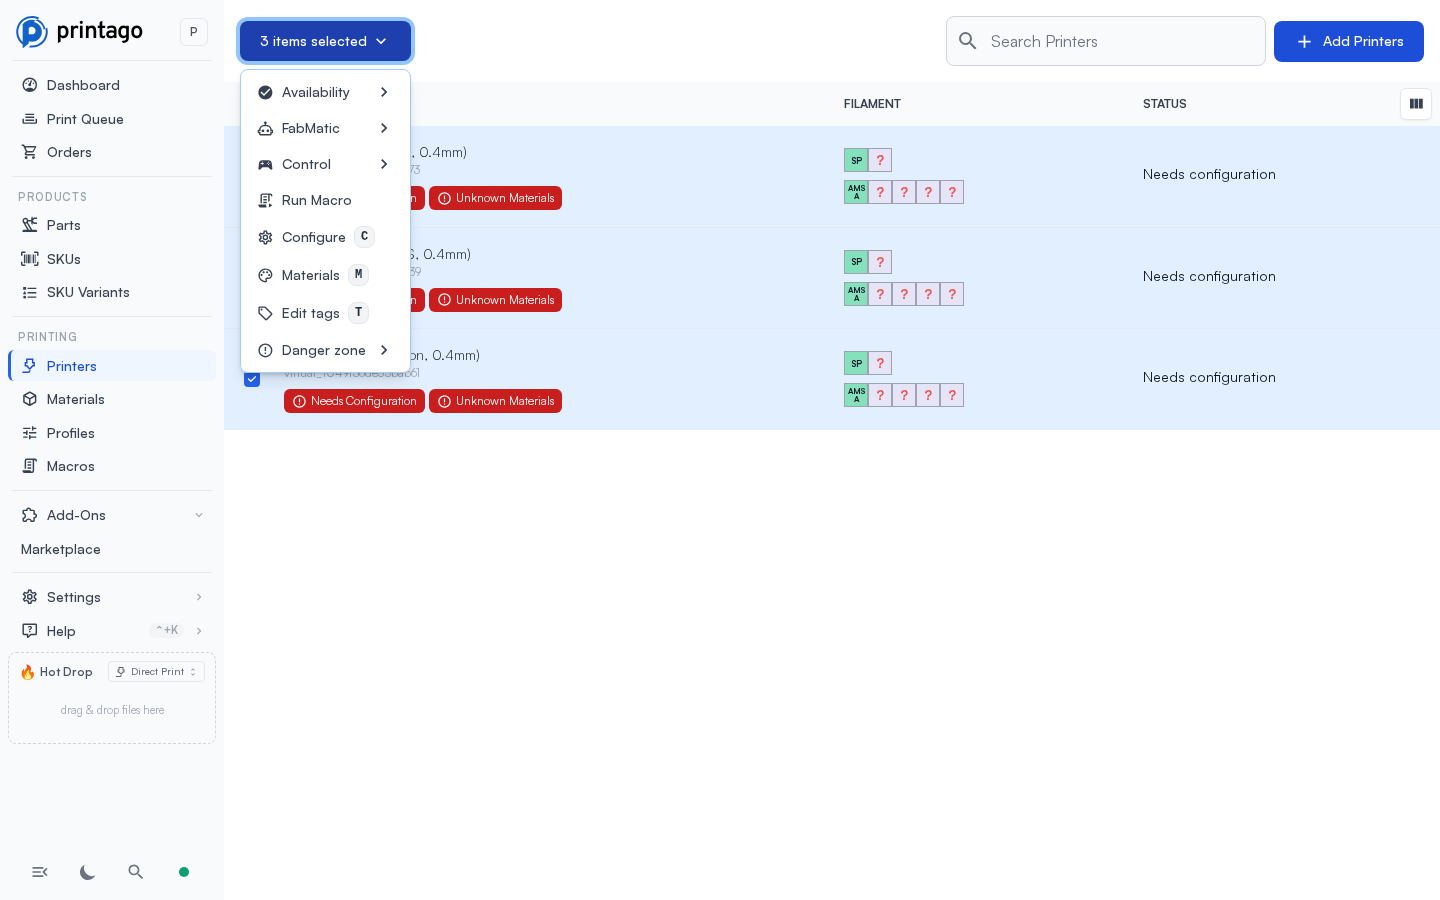
- The printers list: select one or more printers, then choose Run Macro from the actions menu. The dialog opens with those printers already selected.
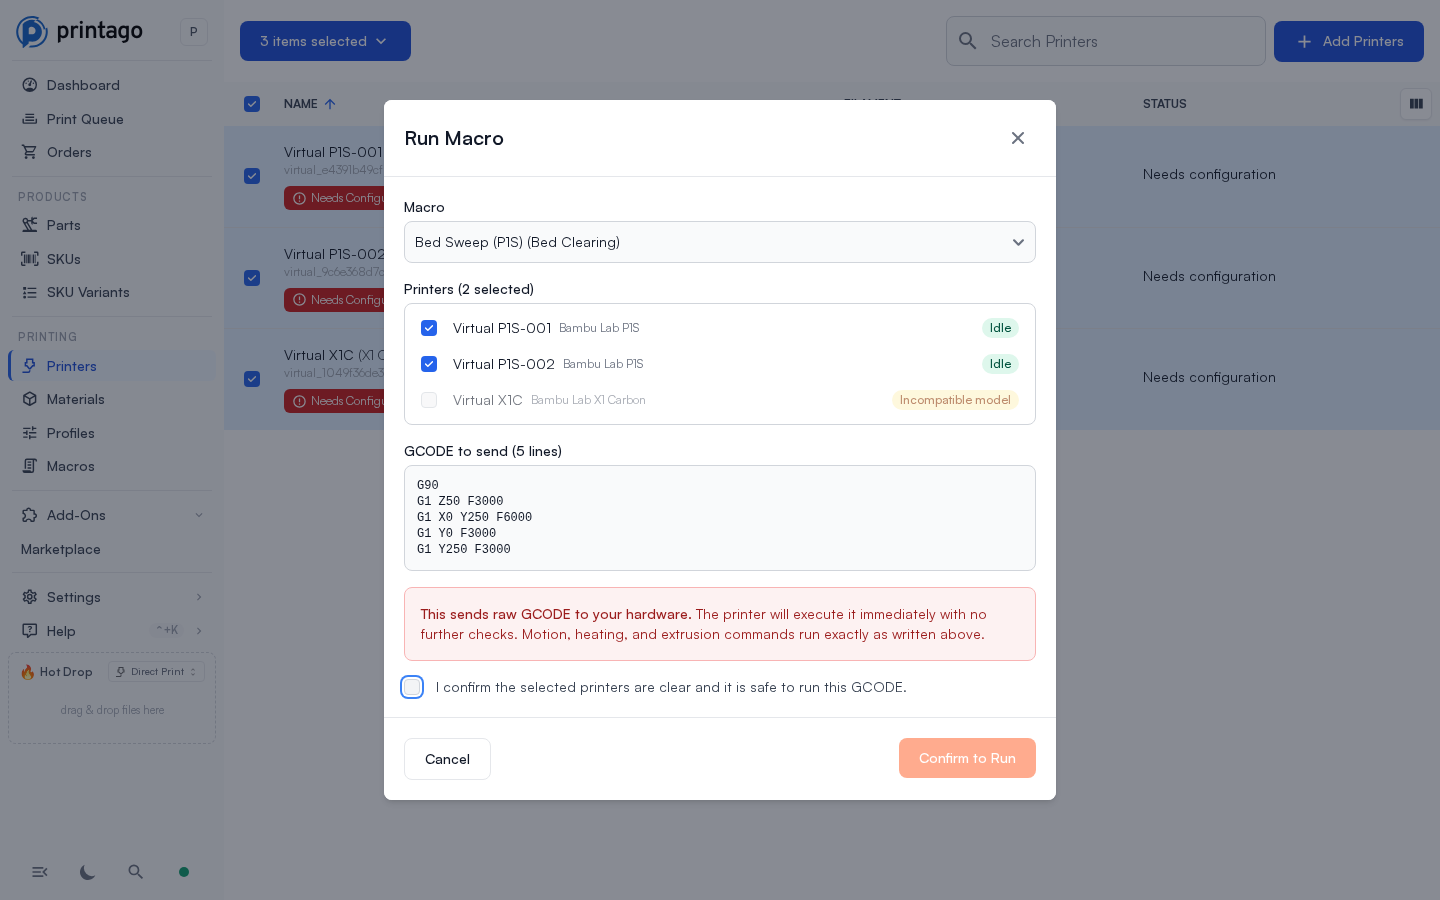
The confirmation dialog shows which printers are eligible right now. For each printer you'll see one of:
- Idle: ready to receive the macro
- Printing: busy, and macros only run on idle printers
- Offline: not connected
- Incompatible model: the printer's model is not in the macro's compatibility list, which is also what you see on every printer when the macro lists no models at all
- No raw GCODE support: this printer's connection cannot carry raw GCODE (see below)
Review the full GCODE preview, tick the confirmation checkbox, and click Run. Printago sends the macro to every eligible printer and reports the result for each one. Printers that are offline, busy, or incompatible are skipped, and the rest still run.
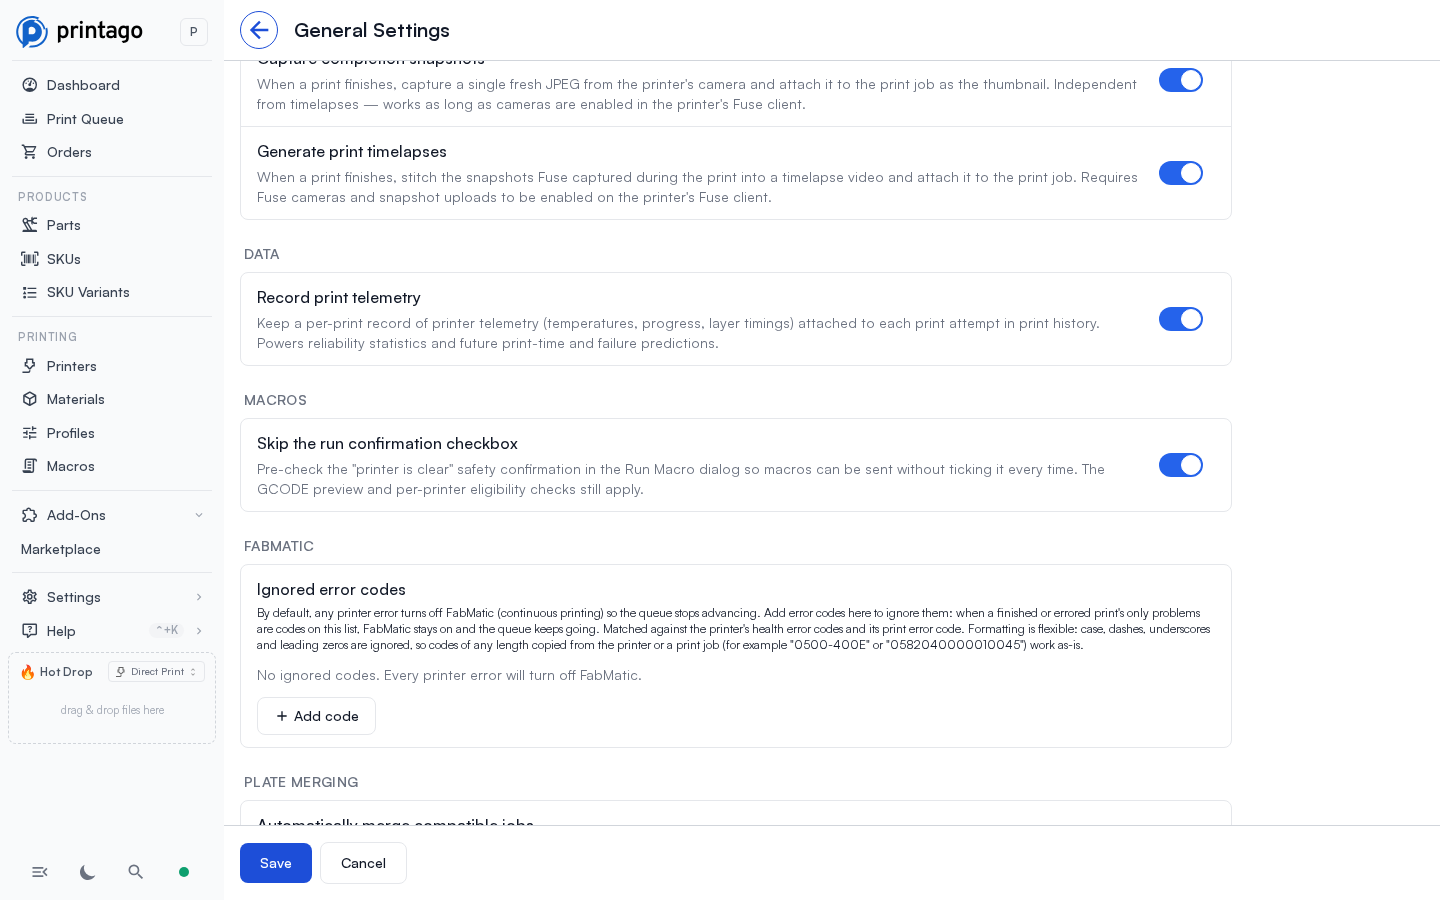
If you run macros constantly and don't want to tick the confirmation every time, turn on Skip the run confirmation checkbox in Settings → Account → General Settings (Macros section). The checkbox then starts pre-checked, and the GCODE preview and per-printer eligibility checks still apply.
Which Printers Can Receive Raw GCODE
Not every printer accepts raw GCODE while it sits idle. What matters is how Printago talks to the machine, not the badge on the front, so the same model can land on either side of this list depending on how you added it.
Macros work on:
- Klipper connections (Moonraker): Voron, RatRig, Qidi, Sovol, Elegoo Neptune 4 series, Klipper-flashed Creality machines, and any other Klipper build
- OctoPrint connections: Creality Ender and CR series, Prusa i3, Anycubic Kobra, Vyper and i3 Mega, Artillery, Snapmaker, Raise3D, UltiMaker, and the rest of the OctoPrint-supported field
- Bambu Lab printers on a LAN or cloud connection: A1, A1 mini, P1P, P1S, X1, X1 Carbon, X1E
Macros do not work on:
- Prusa machines added over PrusaLink: MK4, XL, MINI
- Elegoo Centauri and Centauri Carbon
- Anycubic Kobra 3 and S1 series added over Anycubic's LAN connection
Those three protocols carry print control only, with no channel for arbitrary GCODE. Connect the same Prusa or Anycubic printer through OctoPrint instead and it can run macros, just as a Creality Ender 3 can behind OctoPrint or reflashed to Klipper.
If you are unsure about a particular machine, the app tells you in two places: the model picker labels unsupported models no raw GCODE, and the Run Macro dialog shows No raw GCODE support beside any printer that cannot receive one. A printer showing Idle in that dialog will run the macro.
Who Can Do What
Macro access follows your organization's roles:
- Viewers can browse the macro library
- Operators can also run macros on printers
- Admins can create, edit, and delete macros
See Roles & Permissions for the full breakdown.