STL and STEP Parts
STL and STEP files are static 3D models. Both file types represent single-material parts that can have custom slicer process profiles applied, and once uploaded they behave the same way throughout Printago. STEP files go through one extra preparation step first, described below.
Overview
STL and STEP parts share the same behavior:
- Single Material: Each part uses one material type
- Process Override: Can set custom slicer process per-part
- Static Geometry: No parametric or customizable elements
Adding STL/STEP Parts
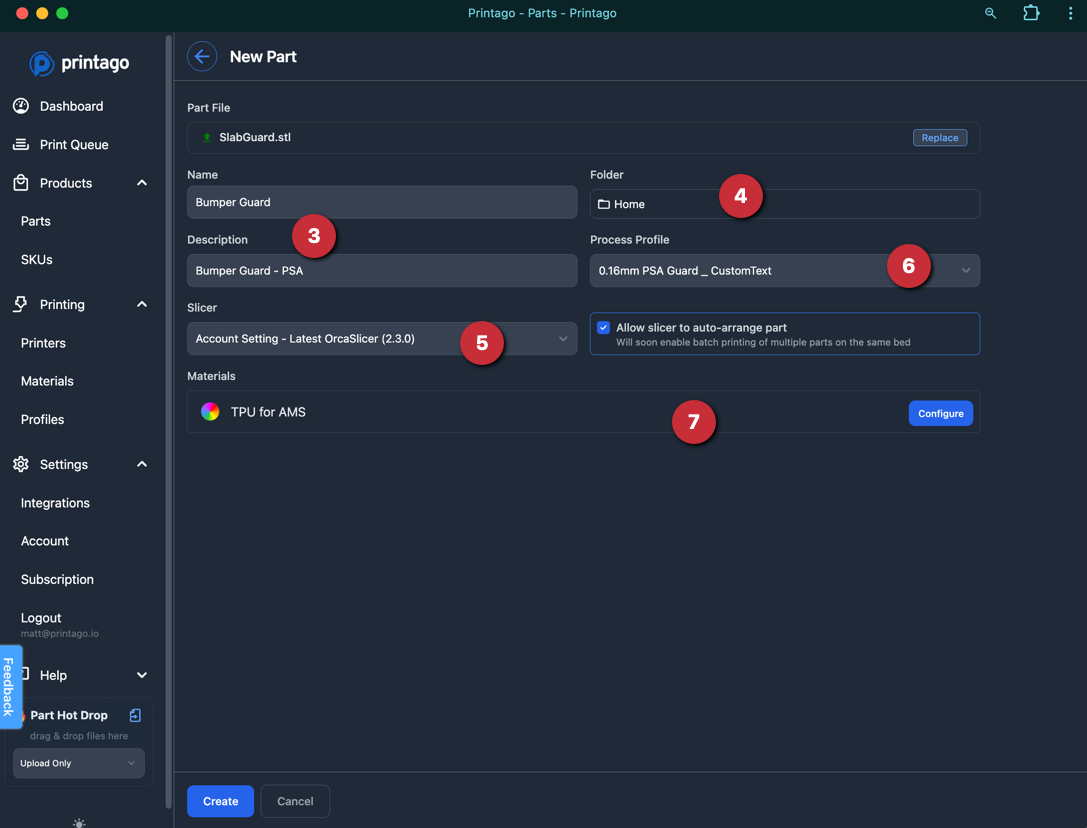
- Navigate to
Products -> Partsand click+ Add Partin the top right. - Browse or drag a compatible file into Printago.
- Enter a name and description for your part.
- Parts are created in your current folder location (click to change if needed).
- Select your preferred slicer. You can change your default in your Account Settings
- Choose a process profile override, or leave as "Printer Default" to any printer's default setting.
- Select 1+ materials for the part. This is used to match the part with the correct printers.Material library.
- Click
Createto upload your part.
How STEP files are prepared
An STL file already describes a surface made of triangles, which is what a slicer reads. A STEP file does not: it describes exact mathematical surfaces, and every slicer converts that description into triangles before it can do anything with it.
Printago does that conversion for you when you upload a STEP part, and keeps the result with the part. You do not need to export an STL yourself, and you do not need to do anything to trigger it.
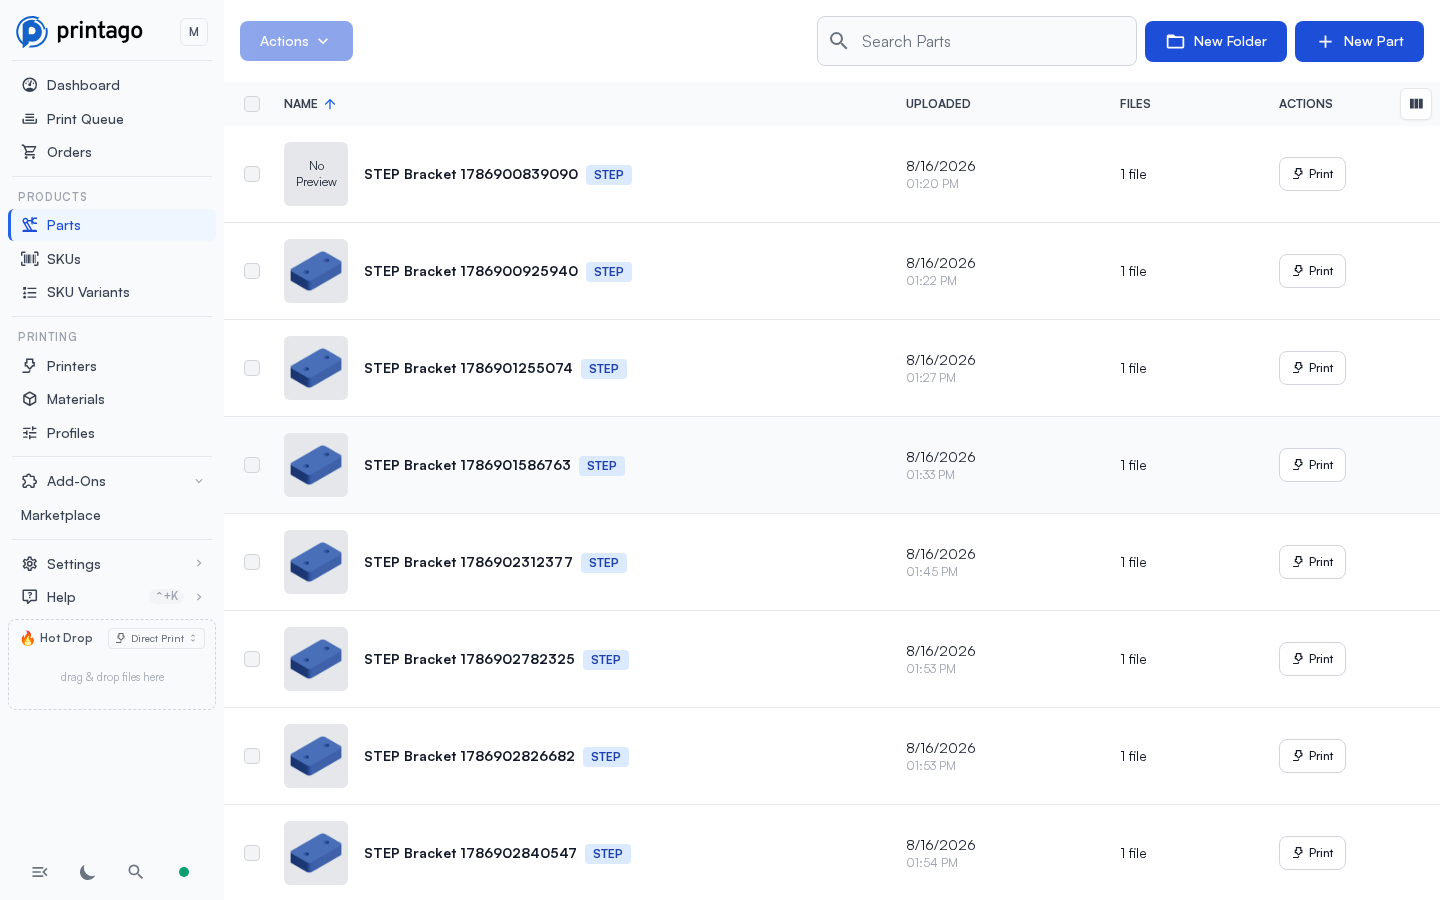
A few things follow from this:
- Preparation takes a moment. Right after upload a STEP part shows no preview. When the preview appears, the part is ready to slice and print. Large or highly detailed assemblies take longer.
- Print time and material estimates arrive after preparation, because they come from slicing the converted geometry.
- Replacing the file re-runs the conversion. If you upload a new revision of the same part, the old geometry is discarded and the part is prepared again from the new file. Its print time and material estimates are cleared at the same time and recalculated from the new geometry, so you are never shown figures from the revision you replaced.
- Older STEP parts are prepared the first time you use them. A part you uploaded before Printago kept the converted geometry, or one you queue for printing before its preview appears, is converted as part of that print. The result is kept on the part, so it is only ever converted once.
- The original STEP file is kept. Downloading the part, or opening it in Orca Slicer from the part page, still gives you the STEP file you uploaded.
If a STEP file fails to convert, the part stays without a preview and cannot be printed. That usually means the file has no solid geometry in it (a drawing or a surface-only export, for example). Re-export it as a solid model and replace the file on the part.
Interactive preview
STEP parts get the same interactive, rotatable preview as STL and 3MF parts, wherever a print job or build already offers one: the queue, a printer's current job, and a part build's "Preview STL". It uses the converted mesh described above. A print job or build captures its files when it's created, so its preview shows the revision of the part that was current at that time, not necessarily the part's current revision if you've replaced the file since.
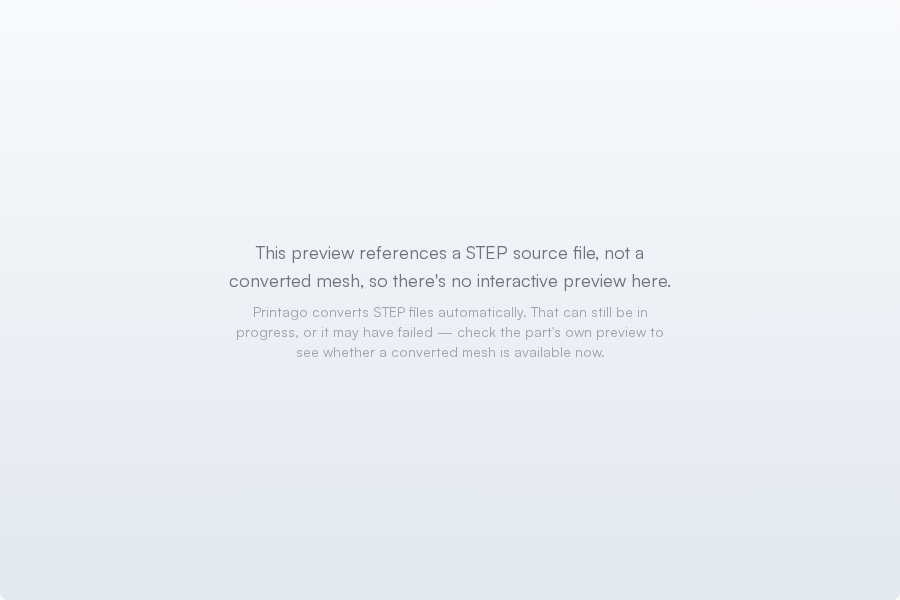
If a job or build preview references the STEP source directly instead of a converted mesh, you see a short message instead of a 3D view. That happens when conversion hadn't finished by the time the job or build was created, or when it failed:
Material Selection
When adding a part, you can assign multiple materials that are compatible with it. Printers will match these materials in the order you specify, using the first available match when printing.
This mapping can be edited each time the part is added to the queue for printing.
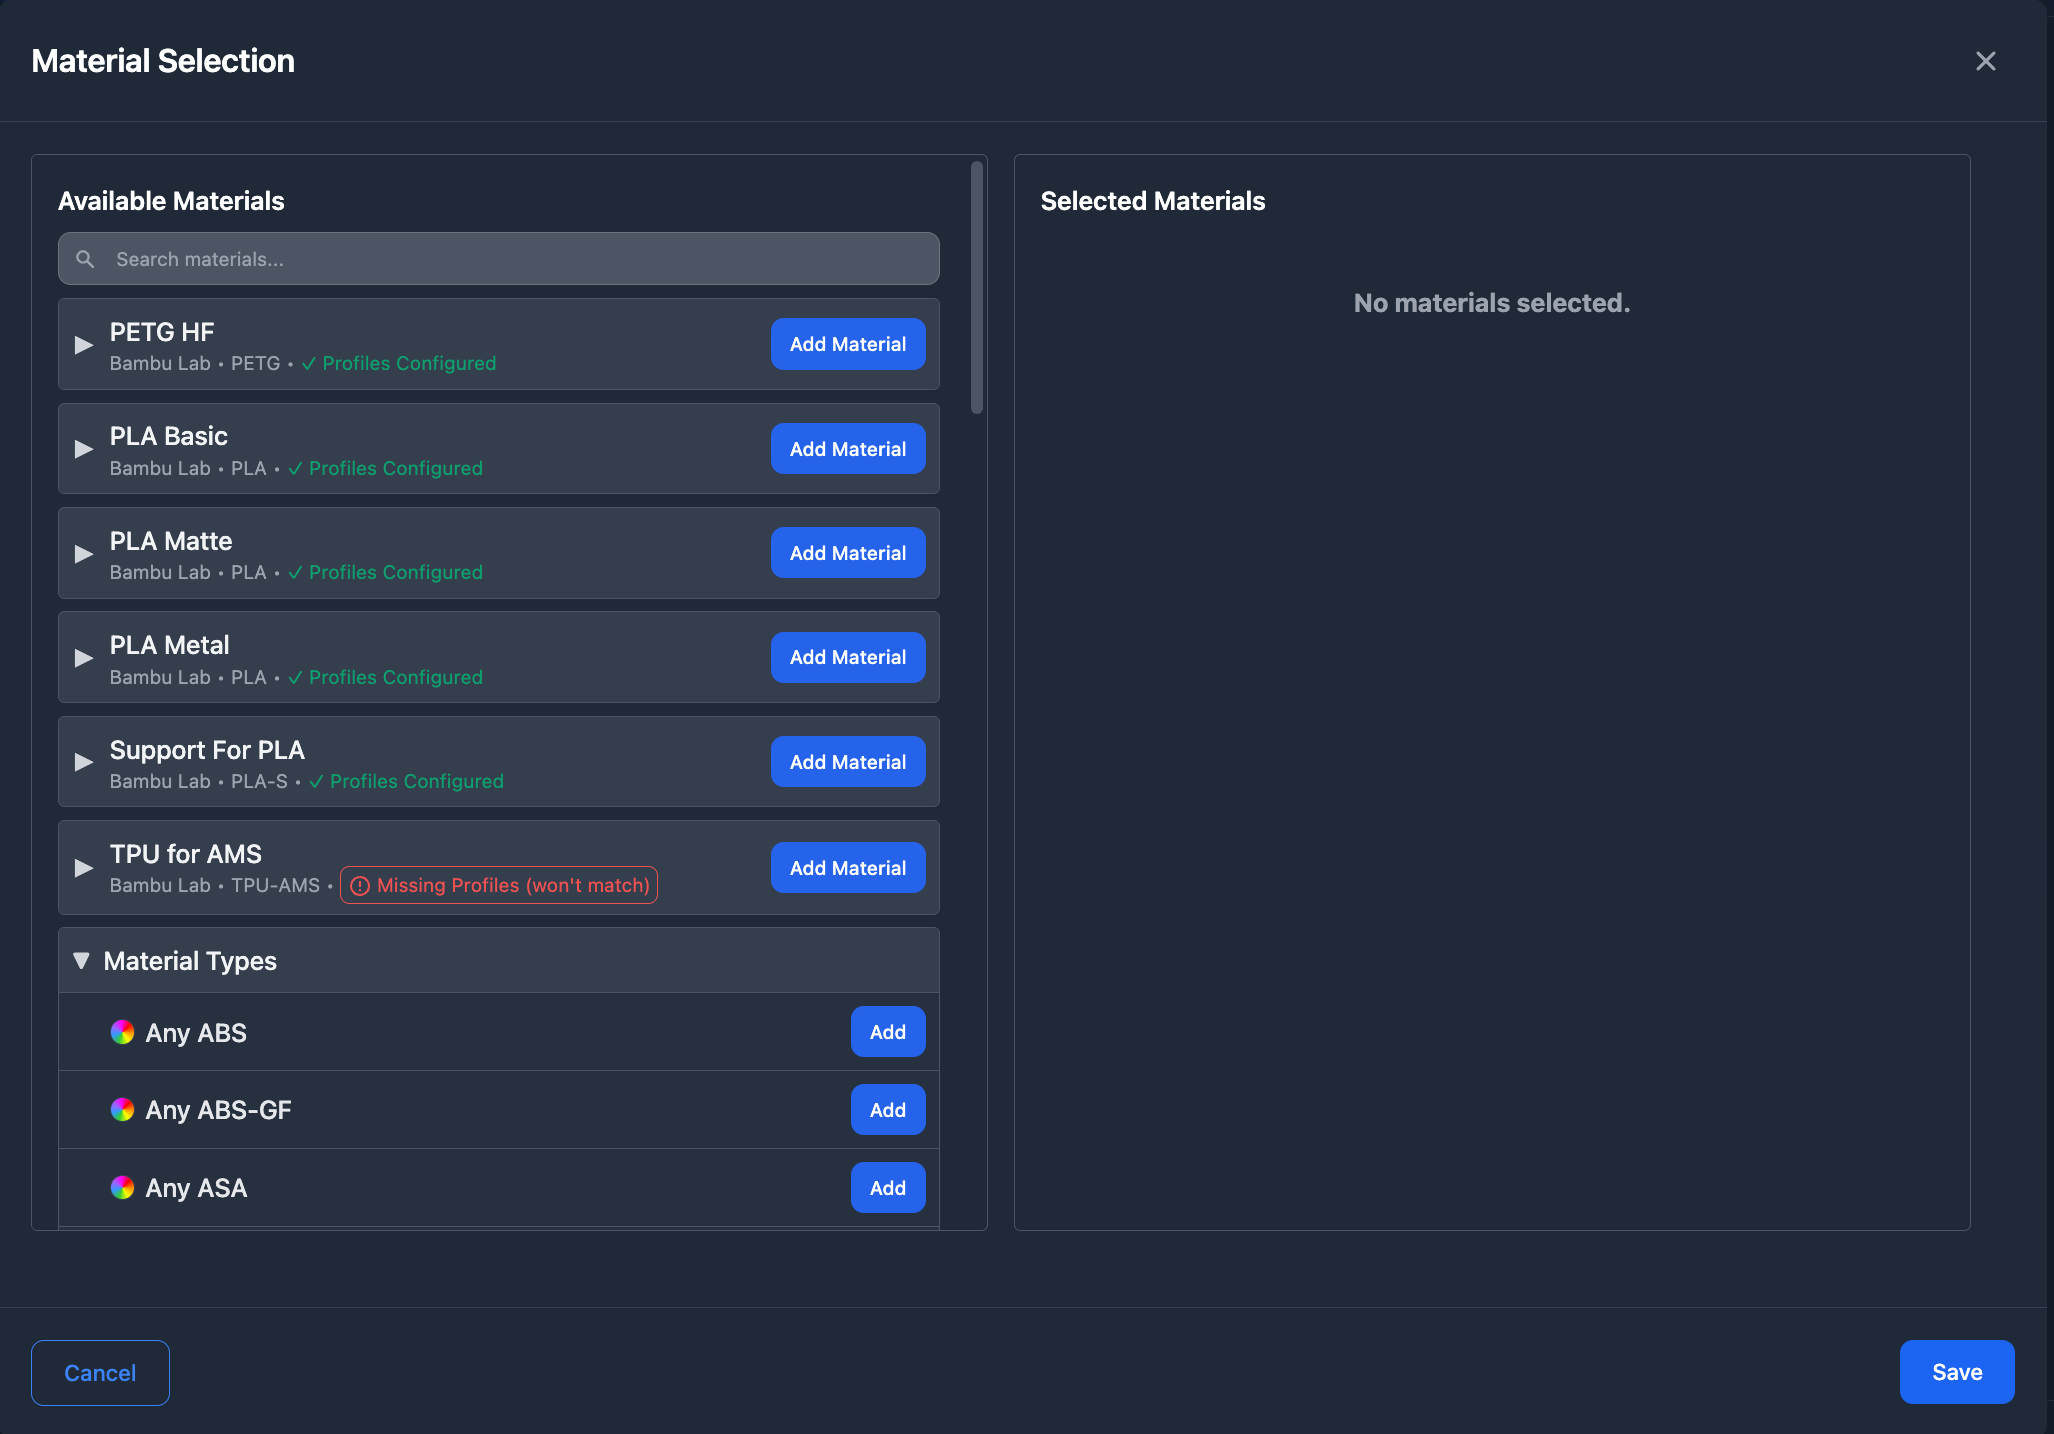
You can specify materials at different levels of specificity:
- Material Type Only: Match any brand and color (e.g., "Any ABS")
- Brand + Type: Match any color of a specific brand and material (e.g., "Any Bambu Basic PLA")
- Specific Variant: Match an exact material variant including color (e.g., "Sunflower Yellow Bambu Basic PLA")
This flexible system allows you to balance between printer availability and material requirements.
Process Profile Override
Setting a custom process profile on STL/STEP parts provides powerful workflow advantages:
- Cloud-Synced Settings: Process profiles are pulled from your Bambu Lab account's "User Profiles".
- Printer-Agnostic: Settings are independent of any specific printer, making them work across your entire fleet
- Smart Slicing: Just hit print - the system automatically handles slicing and caching behind the scenes
- Centralized Updates: Update a profile once, and all parts using it automatically benefit from the changes
For example, when new slicer features become available (like fuzzy skin or scarf seams), simply update your profile in Bambu Studio and sync with Printago. All parts using that profile will automatically use the updated settings on their next print, with no additional work required from you.
Learn more about managing slicer profiles and cloud-based slicing.
STL/STEP Tips
- Use STEP files when you have complex curved surfaces or need maximum geometric precision
- Use STL files for simpler parts or when file size matters
- Set material restrictions to ensure parts only print with compatible filaments
- Create reusable process profiles for similar part types